
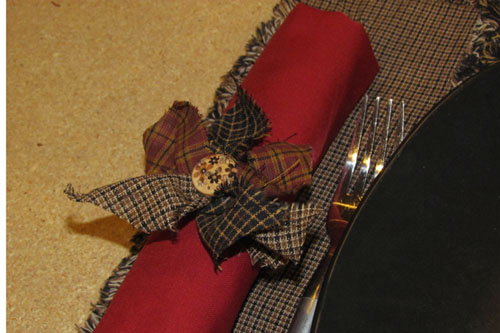
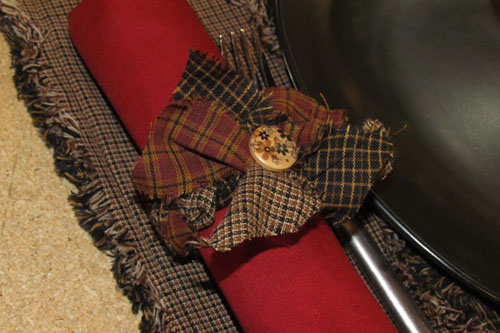
Braided Fabric Napkin Ring
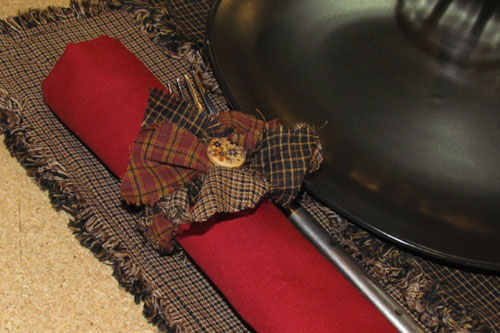
This adorable little braided napkin ring is such a quick and easy project! It's definitely Beginner skill level, yet the finished product is unique and trendy. You can either pick specific fabrics to coordinate with the rest of your table settings or you can use a random mix of your leftover homespun scraps. You will need to use only homespun fabric for the craft project because the homespun is the same on both sides and thus there is no need to be concerned about which way the fabric is laying.
The following instructions are for a set of two Braided Napkin Rings.
Materials:
The following instructions are for a set of two Braided Napkin Rings.
Materials:
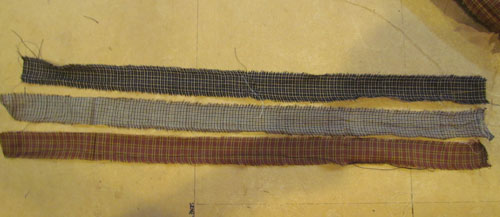
- 3 strips of homespun fabric in coordinating colors, 1.5" x 27"
- 2 coordinating buttons
If you are using leftover scraps and don't have a scrap that is 27" long, you can patch two pieces together by cutting them at an angle and the overlapping the edges and stitching. When you work this seam into the braid, it will not be noticeable.
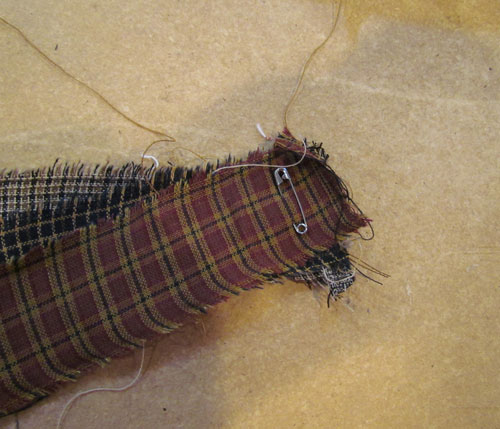
1. Pin one end of each of the three strips together with a safety pin.
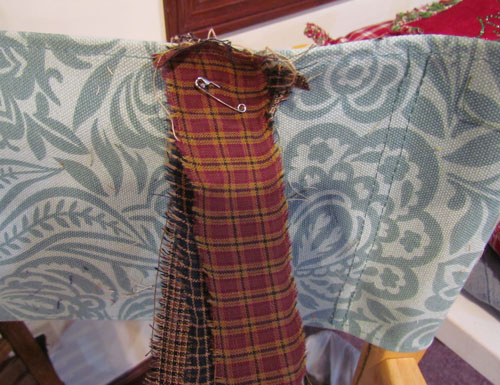
2. Now pin them all three to a surface that will hold them secure while you braid. In this photo I pinned them to the back canvas of a director's chair. I've been known to just pin them to my own jeans before if I'm watching TV! Anywhere that will hold them securely for a few minutes is fine.
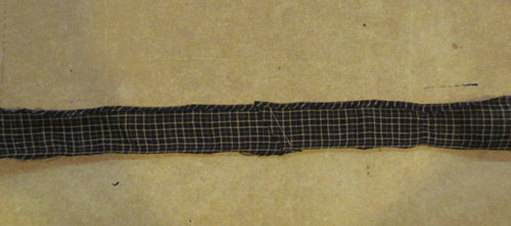
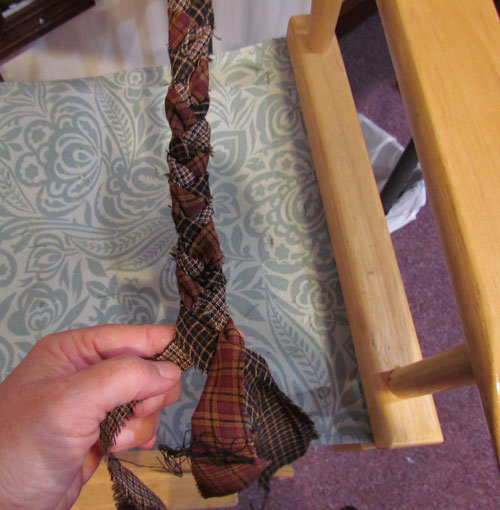
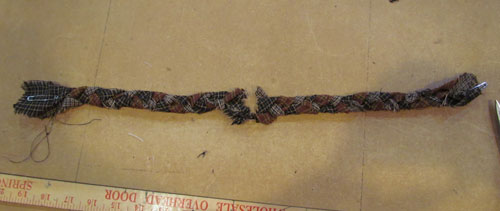
3. Braid the strips loosely. Let them fold and bunch up naturally as you go. This may take a couple of tries to get it right. The most common mistake is to braid too tight.
4. Once you are happy with the look of the braid, put a safety pin in the other end as well.
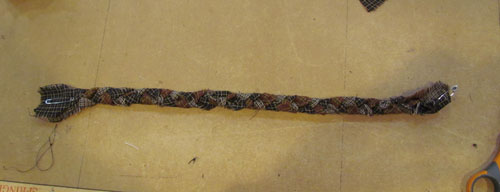
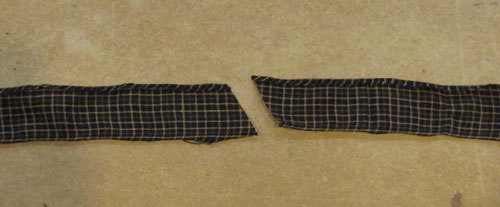
5. Now cut the strip in half. Try not to handle it much at this point so that the braiding doesn't come undone.
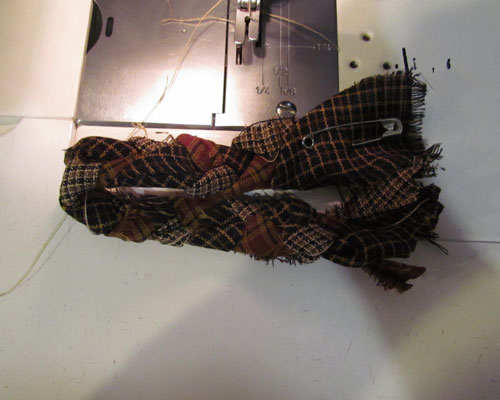
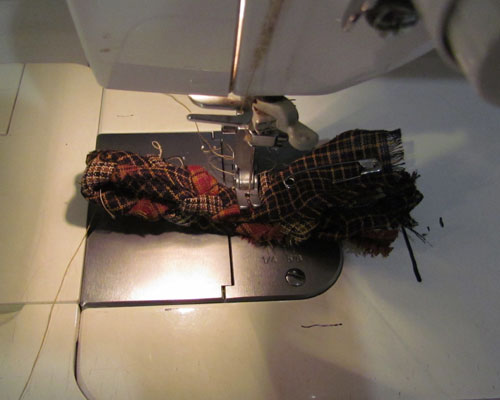
6. Fold one briad in half and stitch through all thicknesses with your sewing machine. The stitch line should be about 2.5 inches from the folded edge. Back stitch several times to make a very secure seam.
|
|
7. Remove the pin. Trim the loose strips to about the same size but a little randomness in size is good. I usually cut mine at a slight angle but again, that is depending on preference. Now "fluff" the ends by pulling and slightly twisting on them. Spread them out like flower petals and stitch a button right in the middle if you wish.
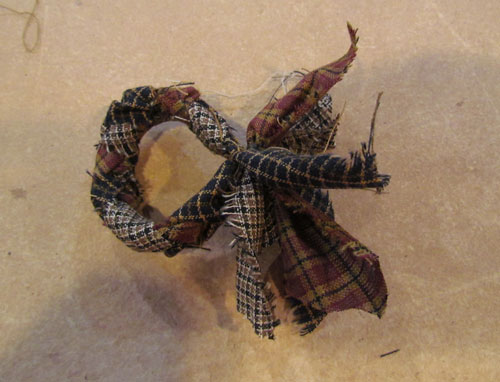
8. Congratulations! You've just completed your first Braided Napkin Ring! Now go back to Step 6 and complete the other one and you'll have a set of 2. Have fun! These are so fast and quick that I predict you'll get addicted to making them for all your dinner occasions and for unique handmade gifts.
|
|