Ragged Style Americana Coasters
|
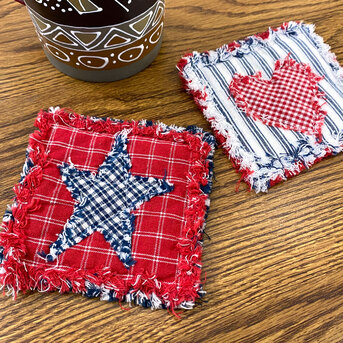
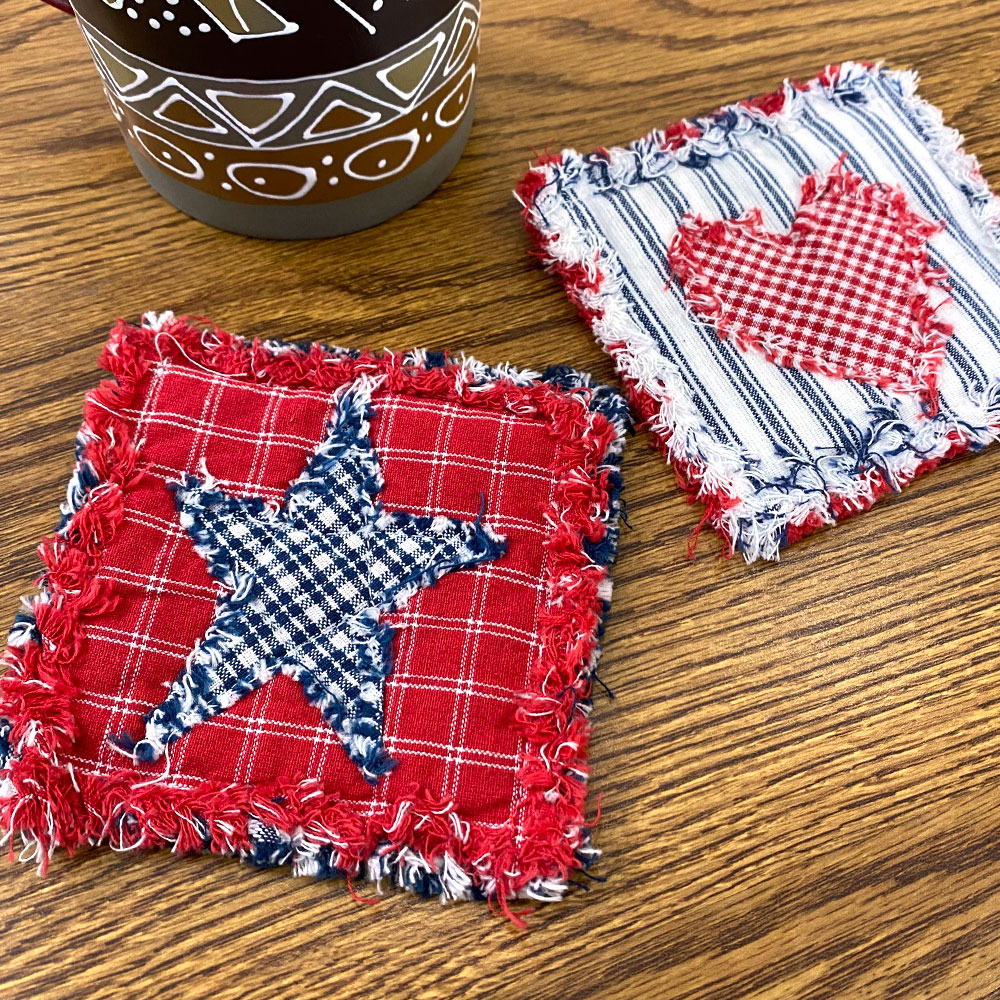
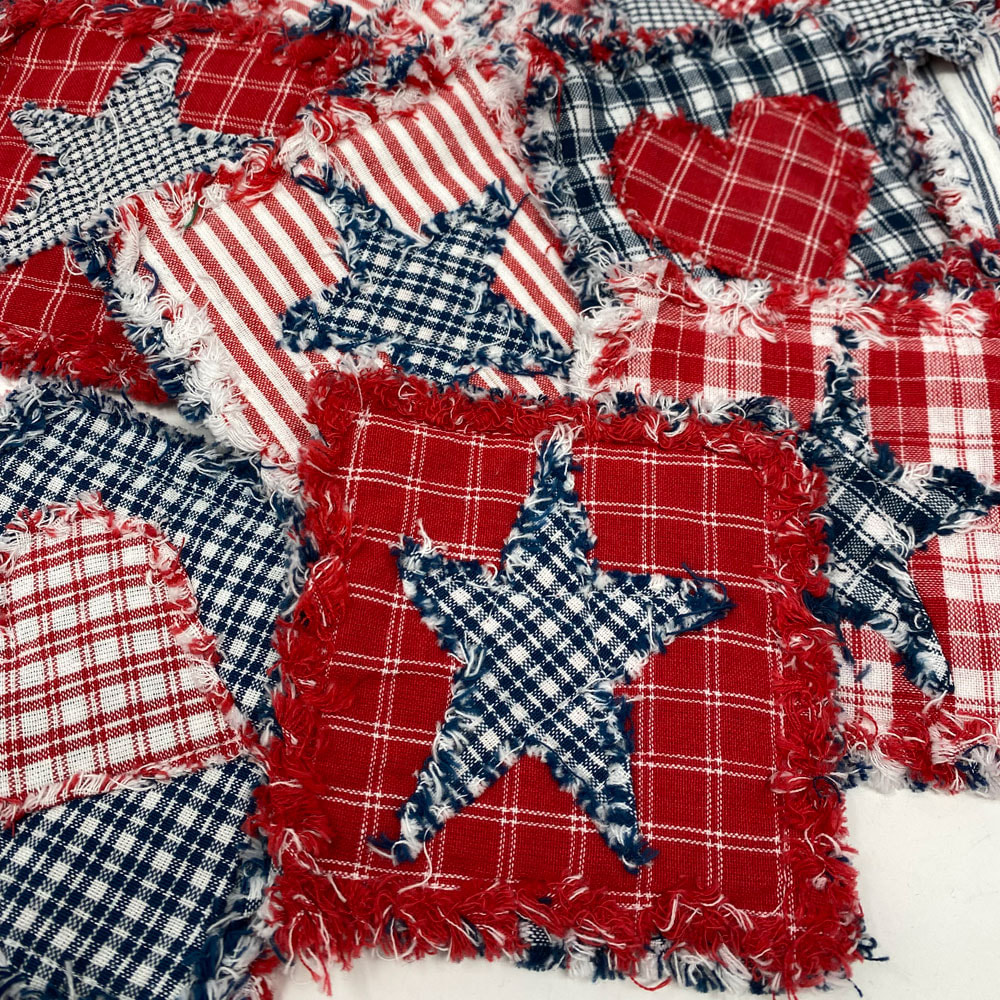
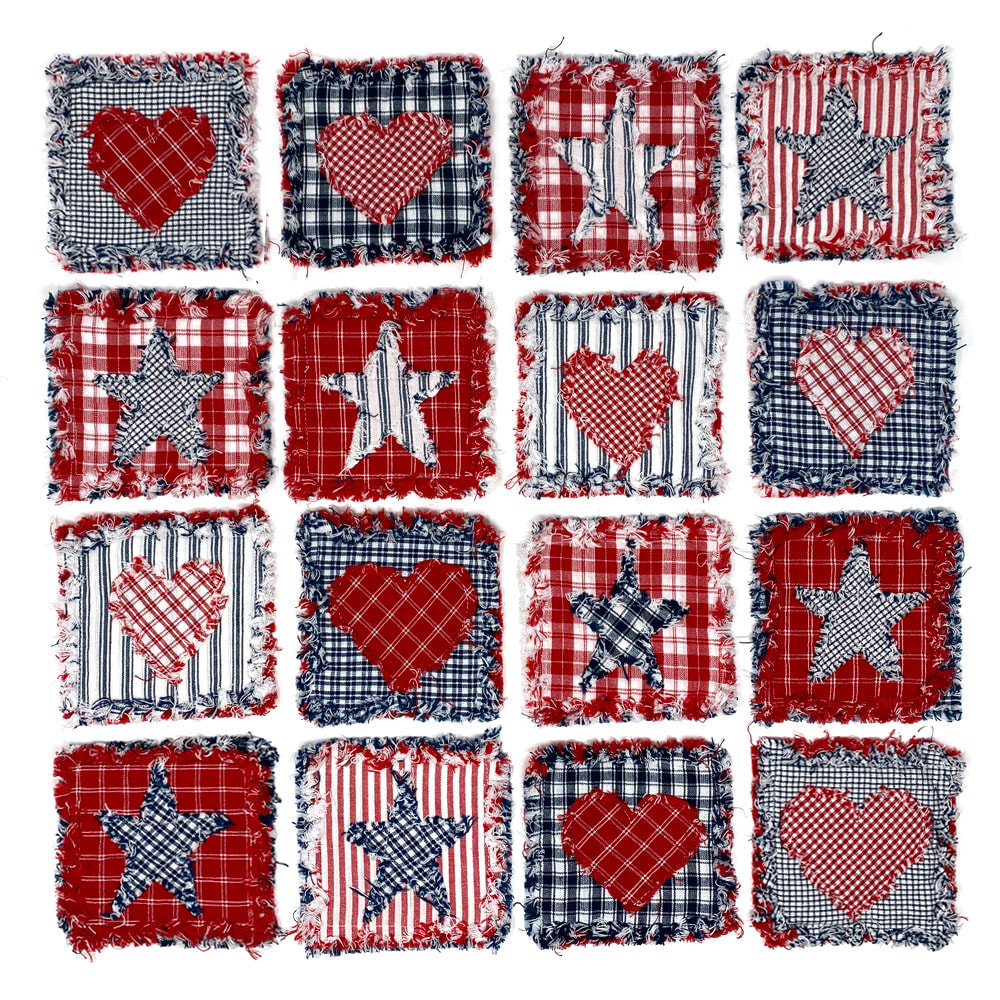
Anyone who loves homespun hates to throw away even the smallest left over remnant! I recently made a quilt for my grandson using navy and white homespun. Shown here on these pages are some pics of really cute Americana coasters I made with the left overs. I had some red homespun on hand from a previous project to combine with the navy and white. I just did a random mix of background colors and star fabric. I'll be selling these at a fall craft show this year as a set of two coasters. Of course hearts and stars are always in style regardless of the season and any primitive color homespun fabric would make a beautiful assortment.
|
|
Assembly Instructions for the Rag Style Coaster:
- Coasters will shrink just a bit when washed so start with something close to a 5" square.
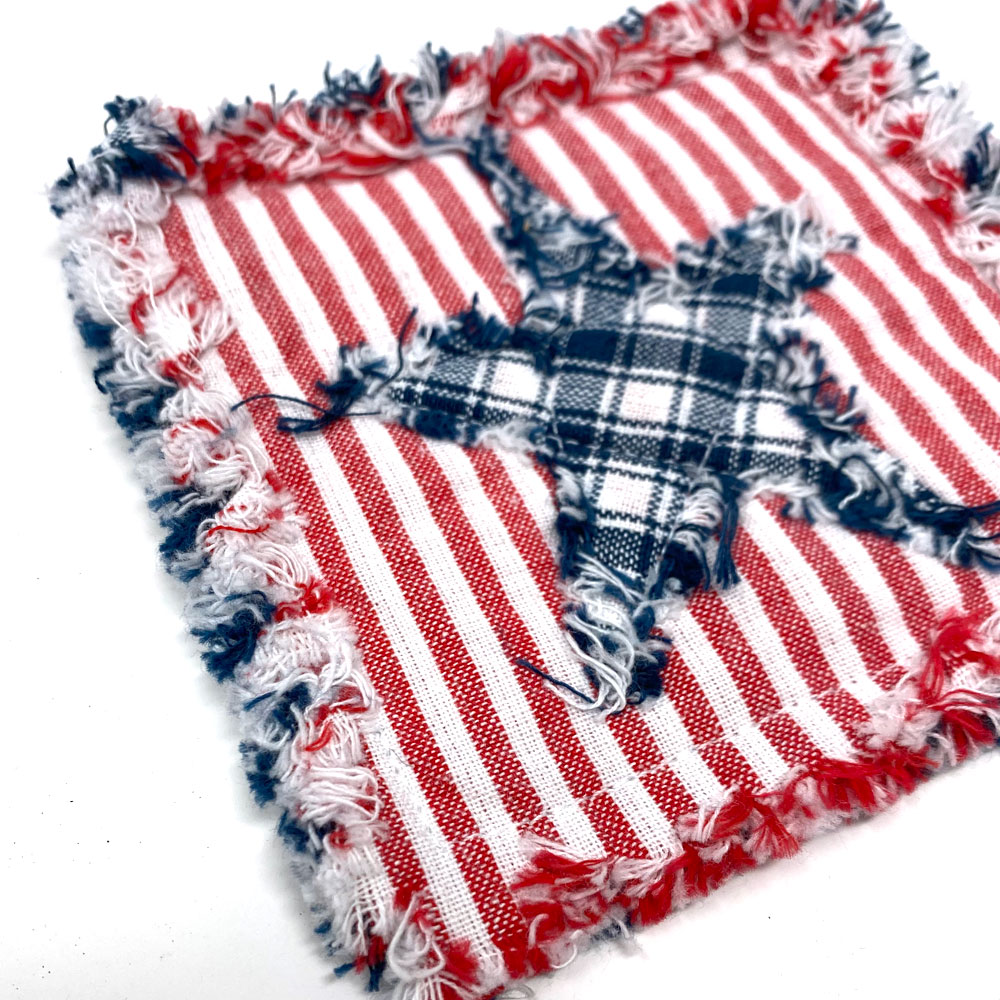
- Use TWO layers of homespun on the top and TWO layers on the bottom. This will ensure you have lots of full, fluffy fray on the outer edges.
- Cut your inner batting about 3/4 inch smaller than the homespun square on all sides.
- Stack your coaster with 2 homespun squares, 1 batting square and 2 more homespun squares. Creating a "sandwich" with the batting in between.
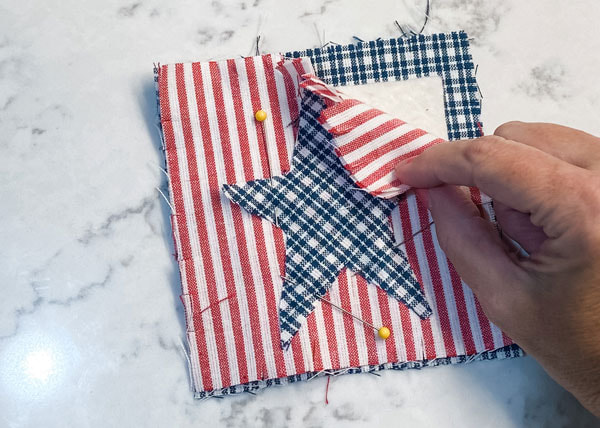
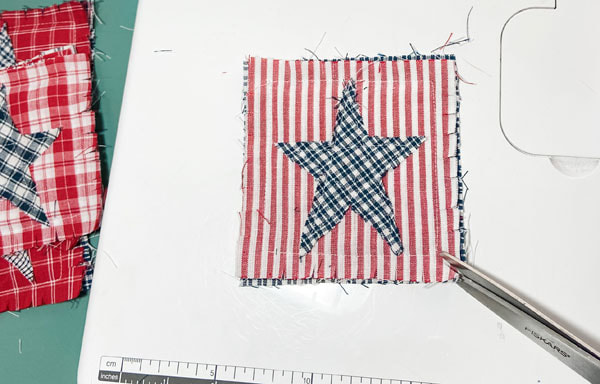
- Cut your desired embellishment shape (heart, star or other) and pin it to one side of the stacked squares. If you just want a more simple design, you can just assemble these without the embellishment shape. If you chose to do that, you'll want to stitch and X in the coaster to hold the batting in place.
- Stitch around the heart or star about 1/4 inch from the raw edges. Make sure it is well pinned before starting this.
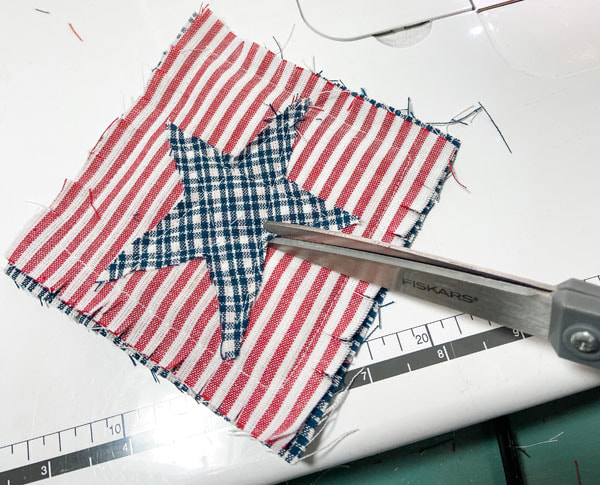
- Make some tiny clips in the exposed raw edge of the embellishment shape, especially in any inside corners or curves.
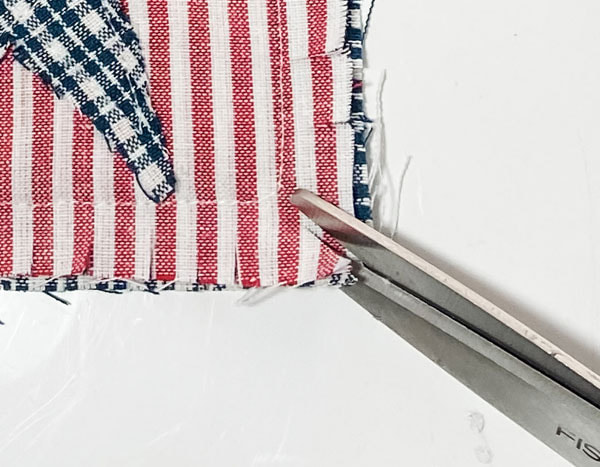
- Stitch about 5/8 inch from the raw edge all around the perimeter.
- Make clips about 1/2 inch apart and 1/2 inch deep in the raw edges around the perimeter. Clip diagonally in the outside corners.
- Machine wash & tumble dry. Use them, gift them or sell them at craft shows!
- Check out the work-in-progress pictures in the gallery below. Click on the pics to enlarge them.
"For the Lord is good and
His love endures forever;
His faithfulness continues
through all generations."
Psalm 100:5