
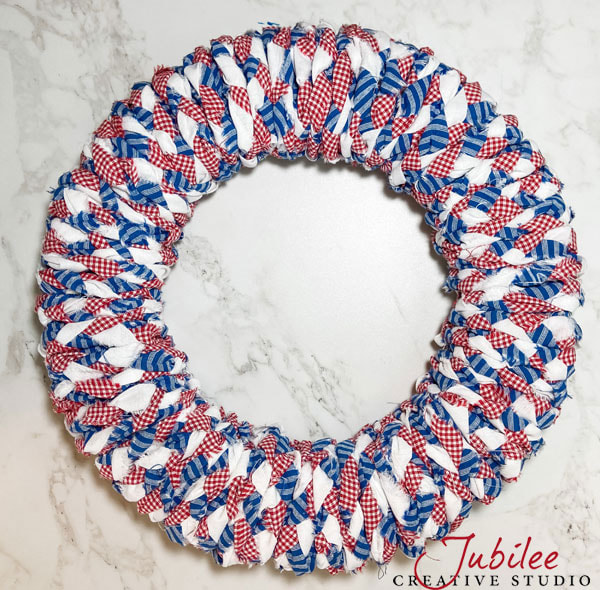
Braided Homespun Americana Wreath
|
Homespun fabric is what makes this creative braided wreath possible! Homespun's unique characteristic of being the same on both sides means that you can braid the fabric easily without worrying about the "wrong side" showing. To give this braided wreath an Americana spin for the summer holidays, we chose our three fabrics to be red, white and blue. Of course, any color selection would look great as long as there is a strong contrast between the fabrics so that you can clearly see the texture of the braid.
|
|
Materials List for the Braided Homespun Wreath:
**Also note that the exact amount of fabric you use will depend on how tight you braid and how closely you wrap the wreath. The above measurements are estimates only.
Assembly Instructions for the Braided Homespun Wreath:
- 1 foam wreath, approximately 16" wide
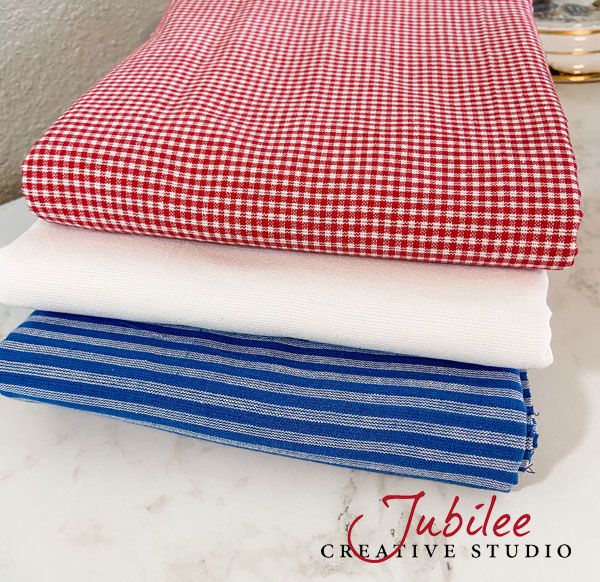
- 1.5 yards of blue homespun fabric (we used Cottage Blue Stripe from Jubilee Fabric)
- 1 yard of white homespun fabric (Colonial White from Jubilee Fabric)
- 1 yard of red homespun fabric (Cherry Red 2 from Jubilee Fabric)
- Straight pins and a hot glue gun
**Also note that the exact amount of fabric you use will depend on how tight you braid and how closely you wrap the wreath. The above measurements are estimates only.
Assembly Instructions for the Braided Homespun Wreath:
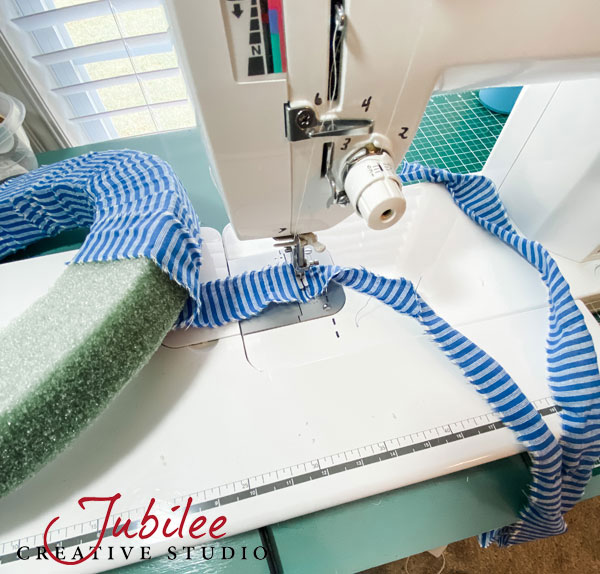
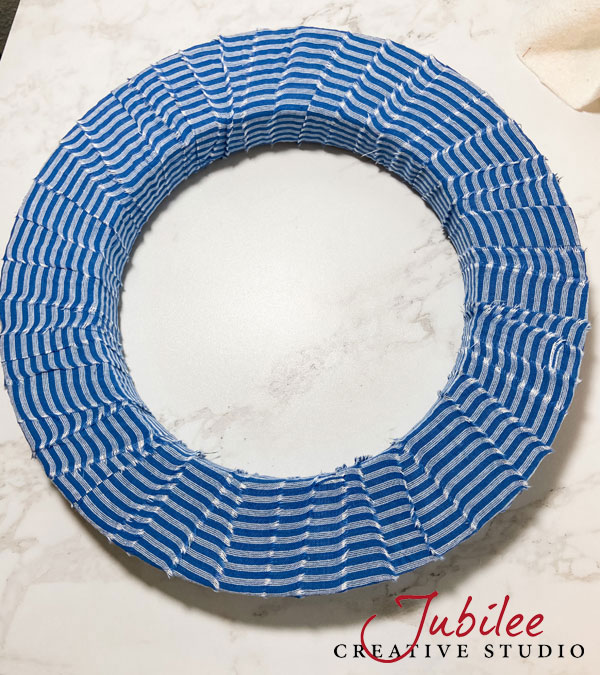
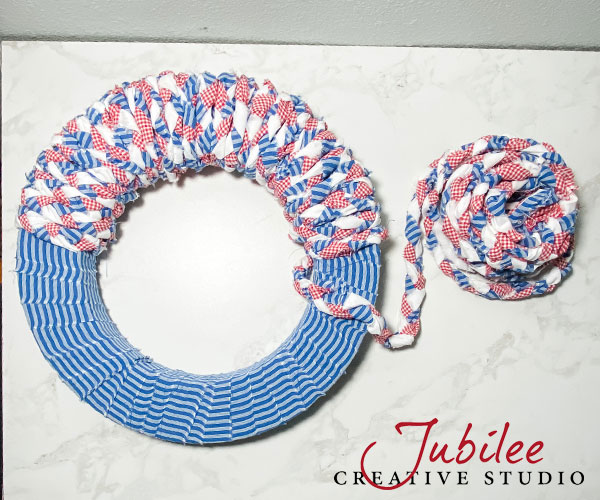
- Tear approximately 10-12 strips of blue fabric about 2 inches wide.
- Wrap this fabric around your foam wreath. Start by pinning the first strip into place with a straight pin.
- Stitch a new strip onto the end of the current strip as needed until you have the foam fully covered. You can also hot glue these strips together if you wish. Trim the last end diagonally and tuck it under a nearby strip. Secure with hot glue or straight pin.
- Click on the images in the gallery below to see work-in-progress pics


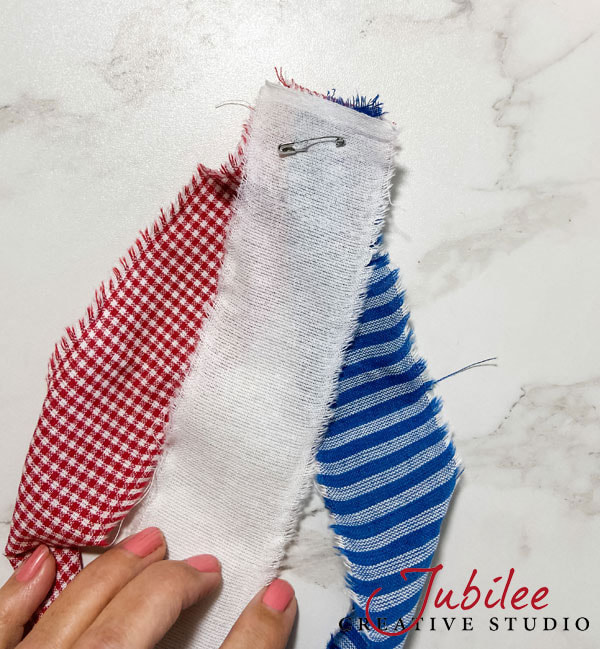
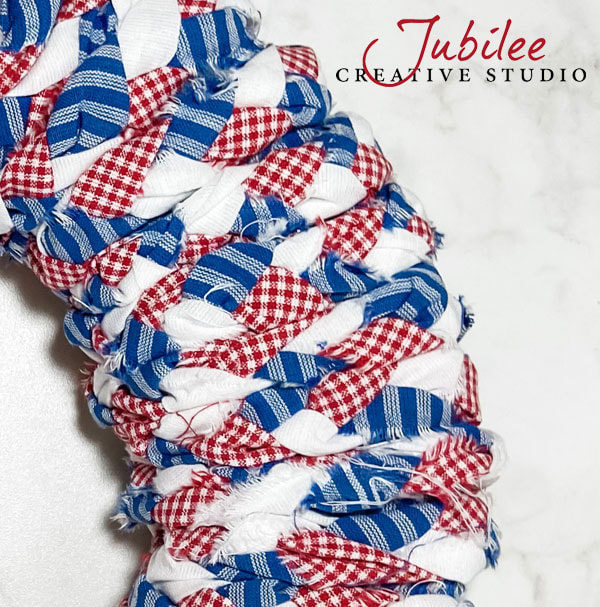
- Tear the remaining red, white & blue fabrics into strips about 2 inches wide. Some long strings from the sides will work loose. Just pull as many of those free as you can. It's ok to leave a few there because this will be a "shabby" style wreath. The more strings you can remove at this stage, the easier these strips will be to work with.
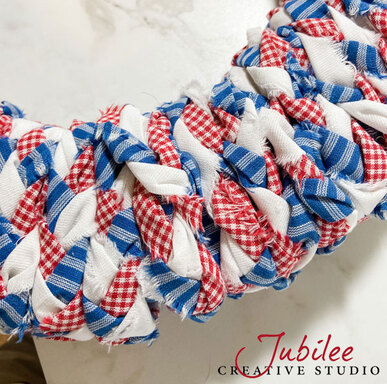
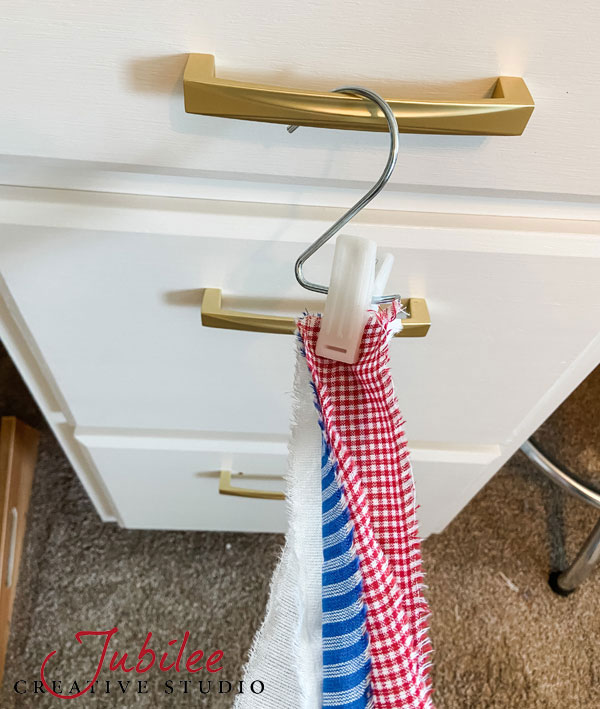
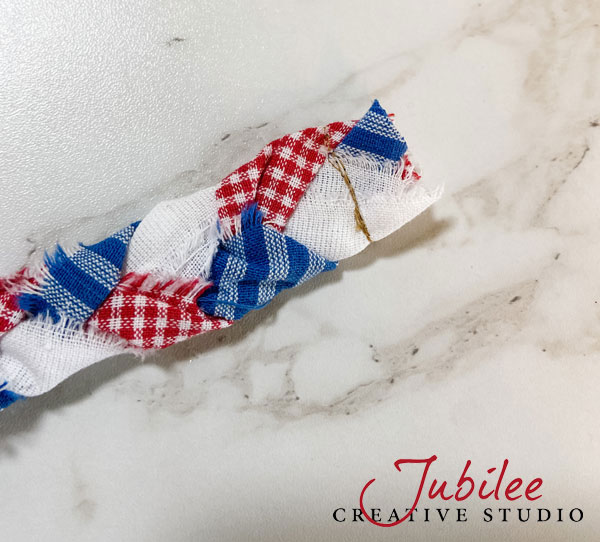
- Begin your braid by pinning one of each color strips together. Now find a place to secure them so that you can braid. I clipped mine to a dresser drawer and moved the clip forward as needed when the braid got long.
- Braid these strips loosely. Consistency is key here so you may want to experiment some with the tension of the braid and the fabric strips.
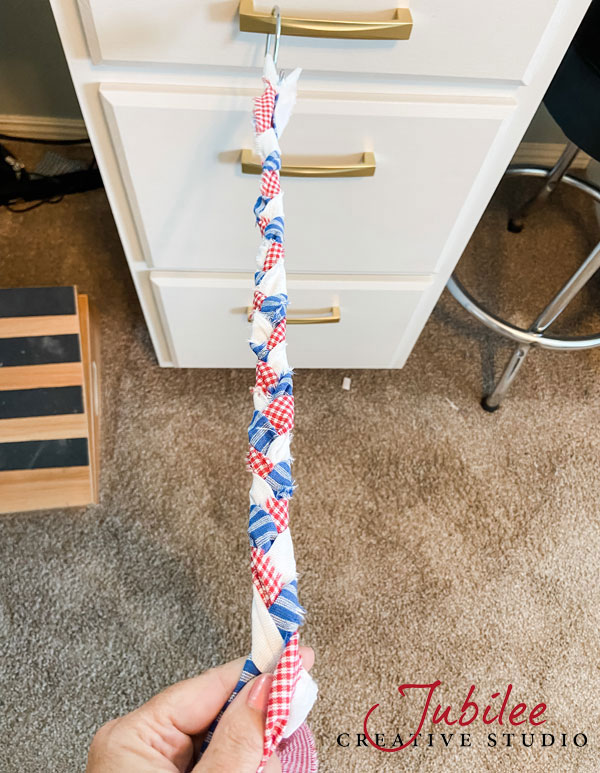
- When you come to the end of one color, simply stitch or hot glue a new strip onto it. Then make sure the seam isn't showing as you braid that section.
- Continue until all your strips are used. Stitch the end and trim any excess.
- Roll the finished braid into a roll so it is more easily managed when you wrap it around the wreath.
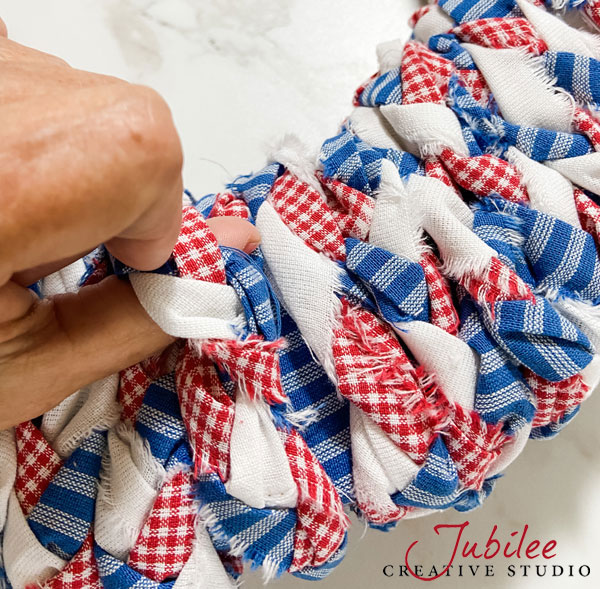
- Begin to wrap the braid around the wreath. Use a straight pin to secure the first end in place. You do not need to cover every little bit of the wreath because the blue fabric wrap on the wreath will camouflage any spots where the braid doesn't cover.
- If you get the wreath wrapped and still have braid left over, simply stitch the braid where you'd want it to end and trim off the excess.
- We love this wreath just as it is but we also think it looks good with some embellishments. If you pin your embellishments on, you can easily change them seasonally or from year to year.
- Click on the images in the gallery below to see work-in-progress pics


"For the Lord is good and
His love endures forever;
His faithfulness continues
through all generations."
Psalm 100:5