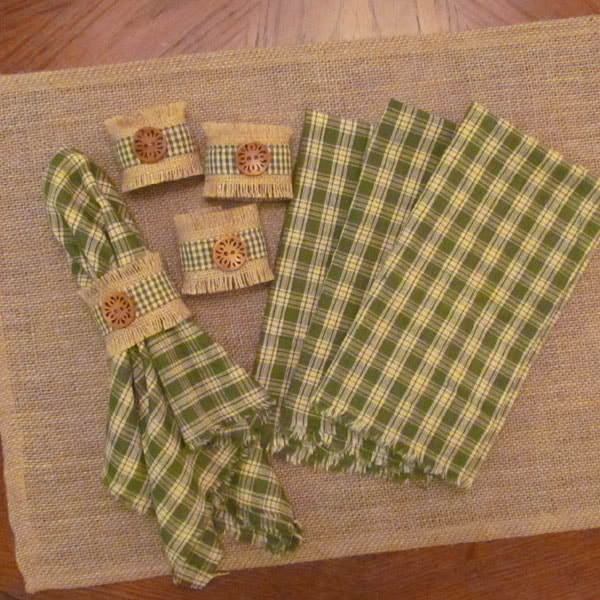
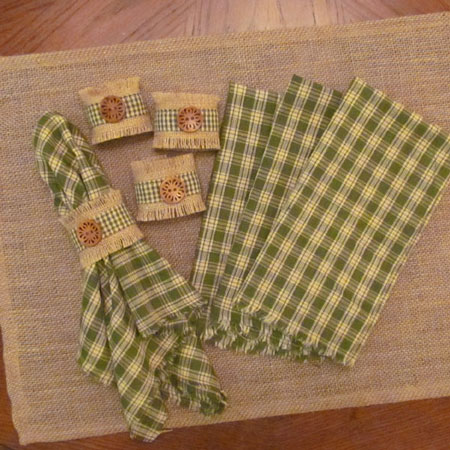
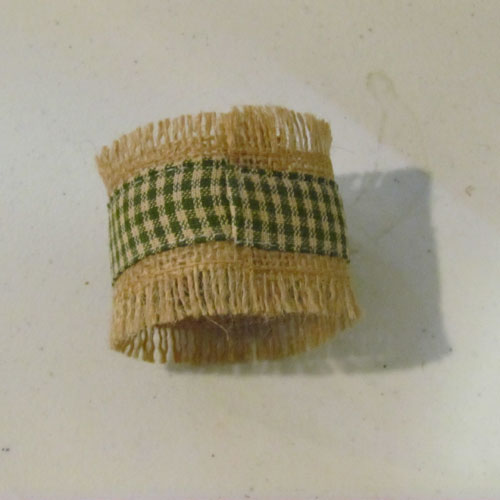
Burlap 'n' Homespun Napkin Ring & Napkin
|
|
Do you LOVE burlap and LOVE homespun? This is the perfect easy craft project for you! We've created a detailed instruction tutorial here which shows step-by-step pictures.
Material List:
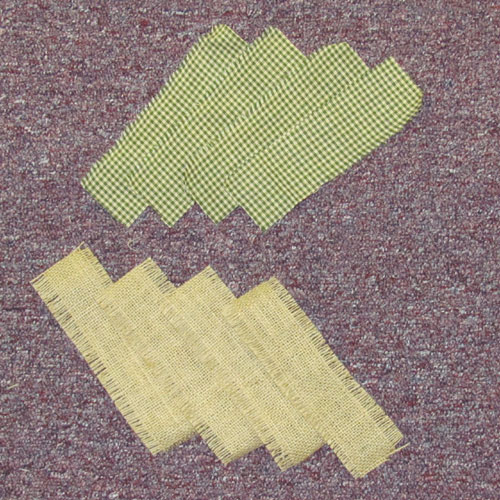
- 28 inches of 2″ wide blank burlap
- homespun fabric remnant approximately 8″ x 8″
- 4 cute wood buttons (optional)
- 1 yard coordinating homespun fabric for the napkins
- glue gun, thread
Assembly Instruction:
- Cut 4 strips of the 2″ wide blank burlap ribbon approximately 6.5″ long.
- Cut 4 strips of the homespun remnant approximately 2″ wide and 7″ long.
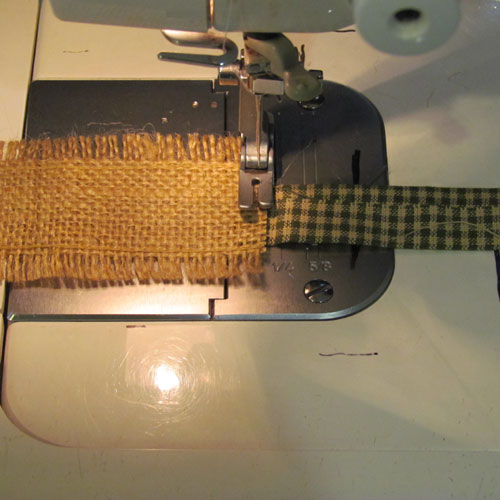
3. Fold in about 1/2″ on each long side of the homespun strips and press. Place one fabric strip and one burlap strip end to end folded sides of the fabric strip facing up and the edges overlapped by about 1/2″. This is hard to describe but take a look at the pic. It’s easy to see. Now just stitch these two pieces together about 1/4″ from the raw edge of the burlap.
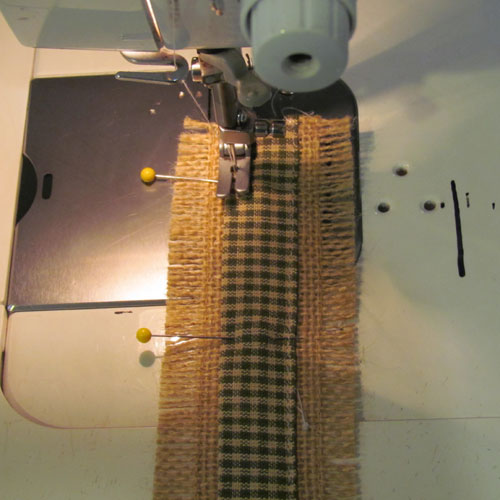
4. Lay the fabric strip back over the top of the burlap, press the stitched edge and pin in place. Be sure to center the fabric strip all the way.

5. Now stitch along the long edge of both sides of the fabric beginning at the folded end and ending at the raw edge end.
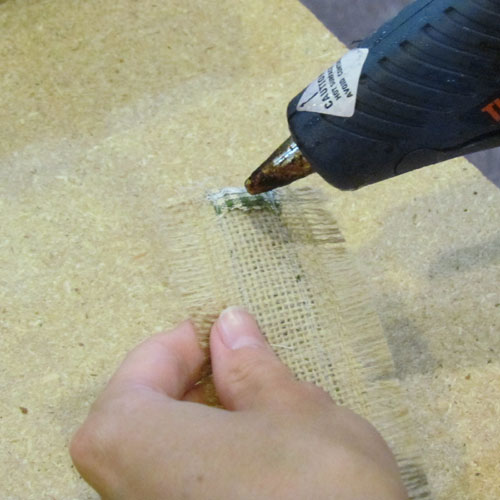
6. Put a thin line of hot glue on the BOTTOM side of the folded edge end.
7. Loop up the raw edge end and place it under the finished edge to form a circle and hold in place until the glue sets.
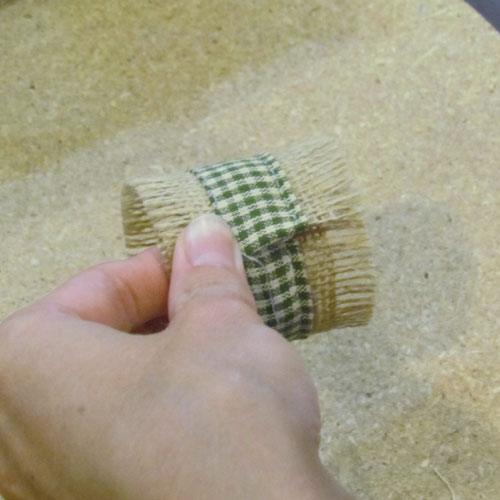
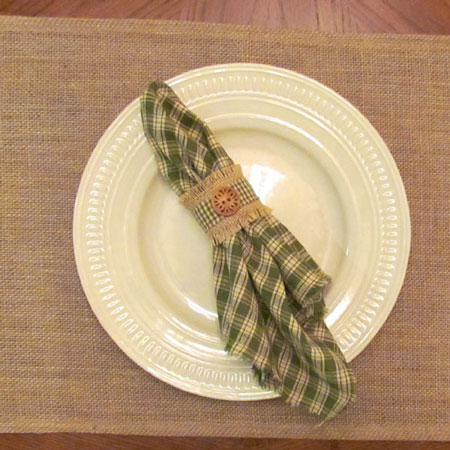
8. Your first napkin ring is finished! Repeat with the remaining pieces to make a total of 4 napkin rings. Embellishments such as a cute wooden button may be stitched on if you wish but these are also very cute just simple as they are.
9. To make the coordinating napkins, just TEAR one yard of homespun fabric (44″ wide) into four equal parts. Don’t cut with your scissors, tear them and gently pull loose any strings that are falling out. Press the edges flat because the tearing will cause them to curl slightly. Stitch 1/4″ from the edge around the perimeter of each napkin to secure the edges and prevent unwanted fraying. Each time you wash these, you may have a few more string to pull loose but that will stabilize eventually and the shabby edges look great with the burlap.