Oval Homespun Basket Liner
|
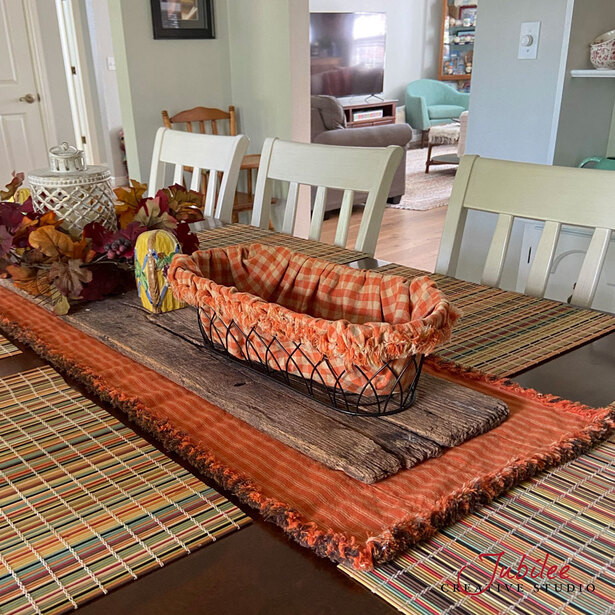
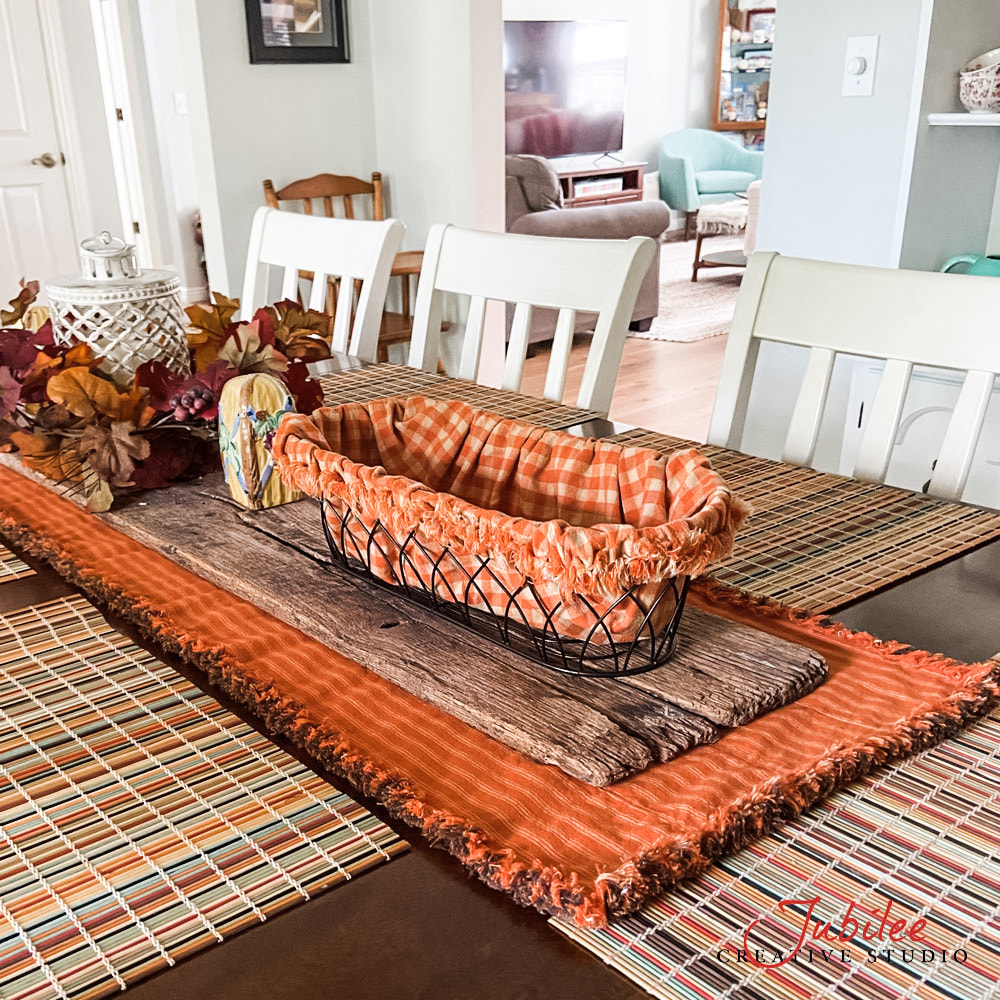
Don't you just love the warmth and texture that homespun fabric brings to any table or home decor? A homespun basket line done in rag style stitching is an easy way to dress up your basket for every season. You can even keep several all-occasion liners on hand to change according to your whims.
Below you will find some simple steps to create a liner for your own basket. These instructions are for a round or oval basket. We also have instructions for a rectangle/square basket liner here. A wide assortment of homespun fabric is available from our shopping pages including Autumn Homespun Plaids and Christmas Homespun Plaids. |
|
|
|
INSTRUCTIONS FOR ROUND or OVAL HOMESPUN BASKET LINER:
The amount of fabric that you need will depend on the size of the basket. See the instructions below for measuring your basket. We recommend using a double layer of fabric for durability and to have a fuller fray. Only homespun fabric will fray this way. If you are not using homespun, you'll need to hem all your exposed edges and seams. Check out our shopping pages for Autumn Homespun Plaids and Christmas Homespun Plaids.
The amount of fabric that you need will depend on the size of the basket. See the instructions below for measuring your basket. We recommend using a double layer of fabric for durability and to have a fuller fray. Only homespun fabric will fray this way. If you are not using homespun, you'll need to hem all your exposed edges and seams. Check out our shopping pages for Autumn Homespun Plaids and Christmas Homespun Plaids.
- Measure the depth of your basket. The bottom of the basket up to the top of the side.
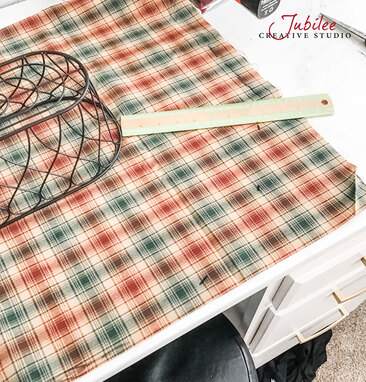
- Lay out two layers of homespun fabric on the table. Place your basket in the middle with the top down.
- Measure out depth + 4 inches and make a mark all the way around your basket. (depth was determined in the first step) Make as many or as few marks as you wish but more will help you define the curve of the cut.
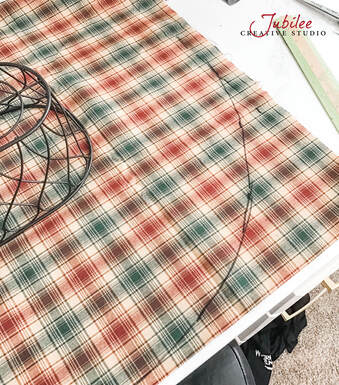
*** if your basket is oversize, you will need to enlarge this a bit to accommodate for the extra shrinkage of the fabric. - Connect your marks to make a cut line all the way around the basket.
|
|
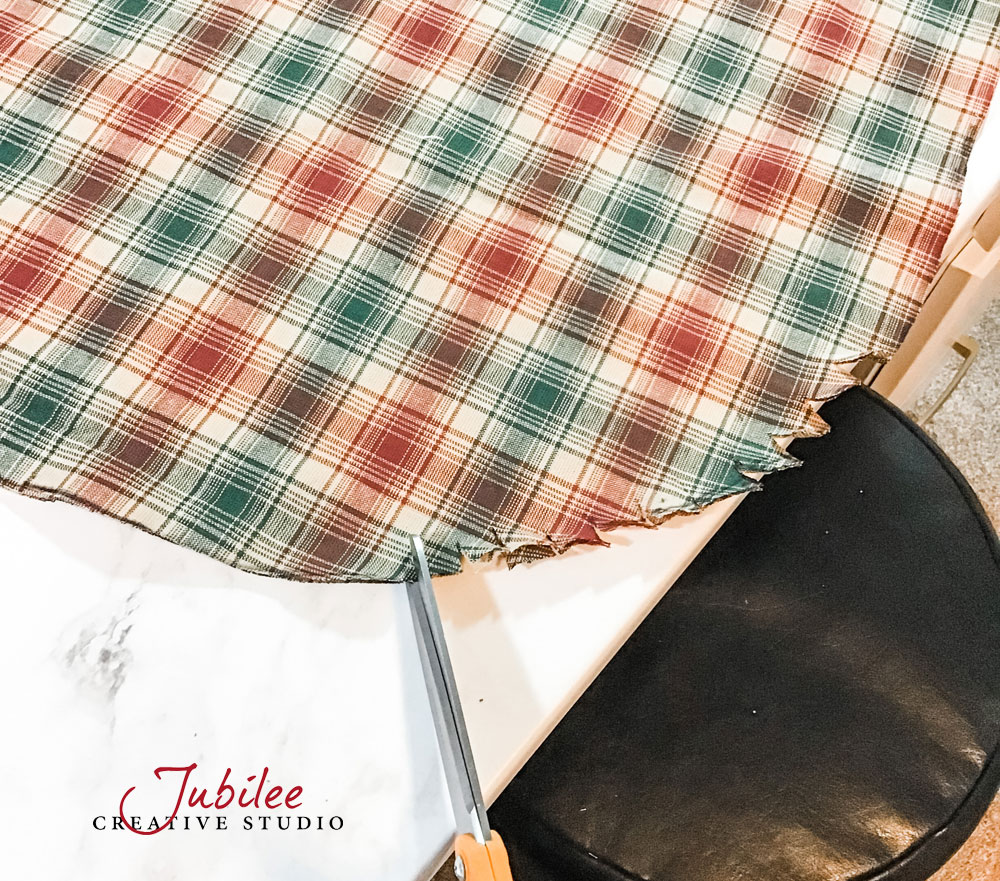
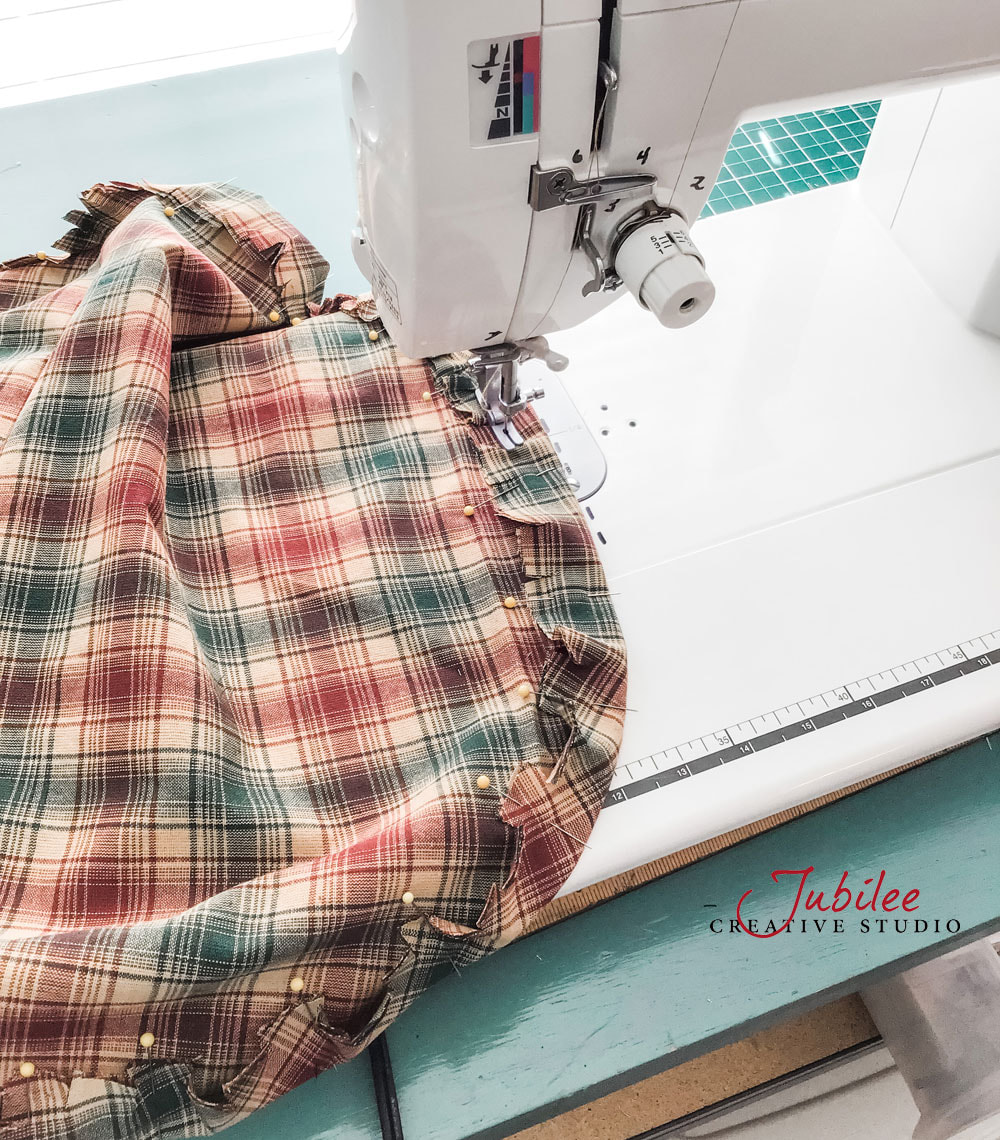
- Cut out your liner along the cut lines. Keep both layers together and clip all the raw edge of the perimeter with clips that are 1/2 inch deep and 1/2 inch apart.
- Fold in about 1.5 inches all the way around the outer edges and pin in place.
|
|
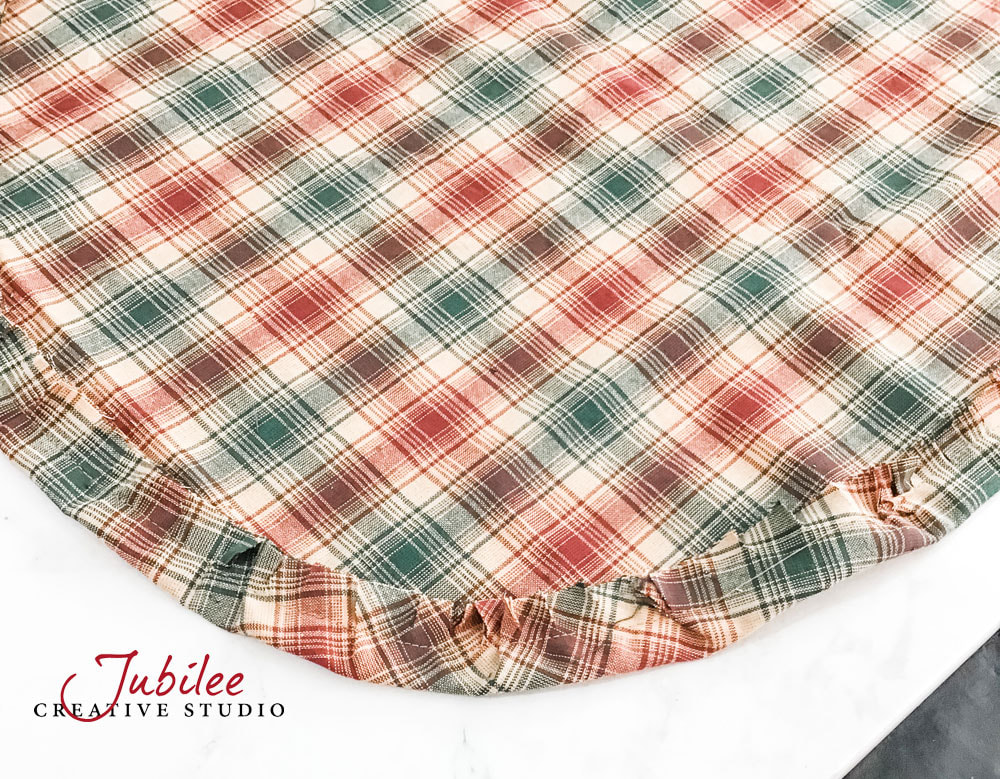
- Stitch around the perimeter of the liner about 3/4 inch from the folded edge. This will form the casing for the elastic. Leave about 1-2 inches open to thread the elastic through.
|
|
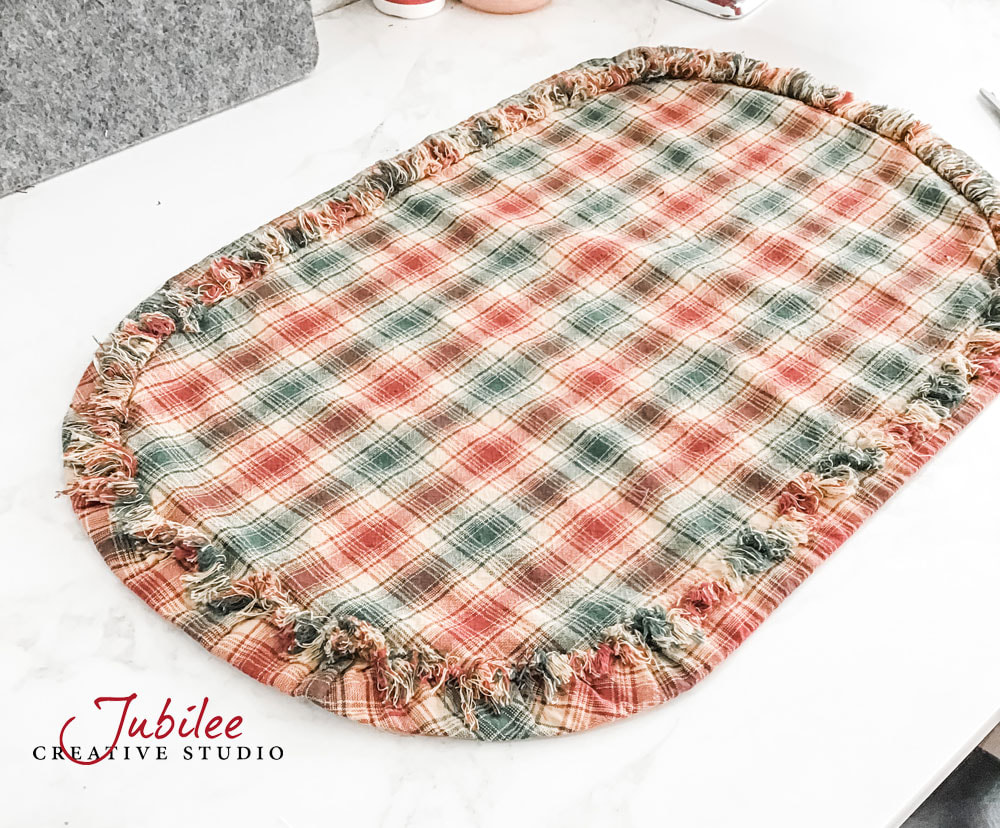
- Machine wash and tumble dry the liner now. 1/4 cup of salt in the wash will help reduce fading. Use a lint roller to clean up any remaining strings after washing.
- Measure around the top of your basket. Subtract 2 inches and cut your elastic that long.
- Using a bodkin or large safety pin, thread your elastic through the opening you left in the top casing.
- Secure the elastic by stitching the ends together.
- Stitch the opening in the casing closed with the elastic inside.
|
|
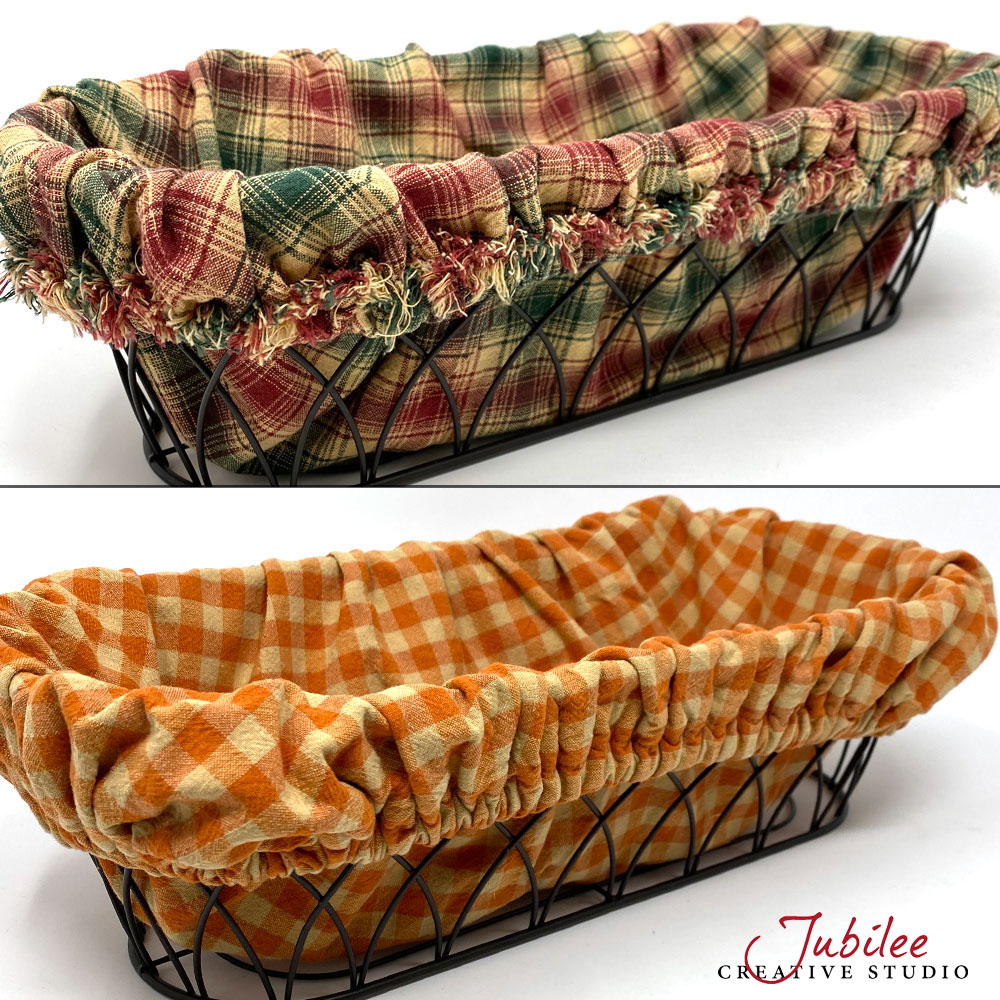
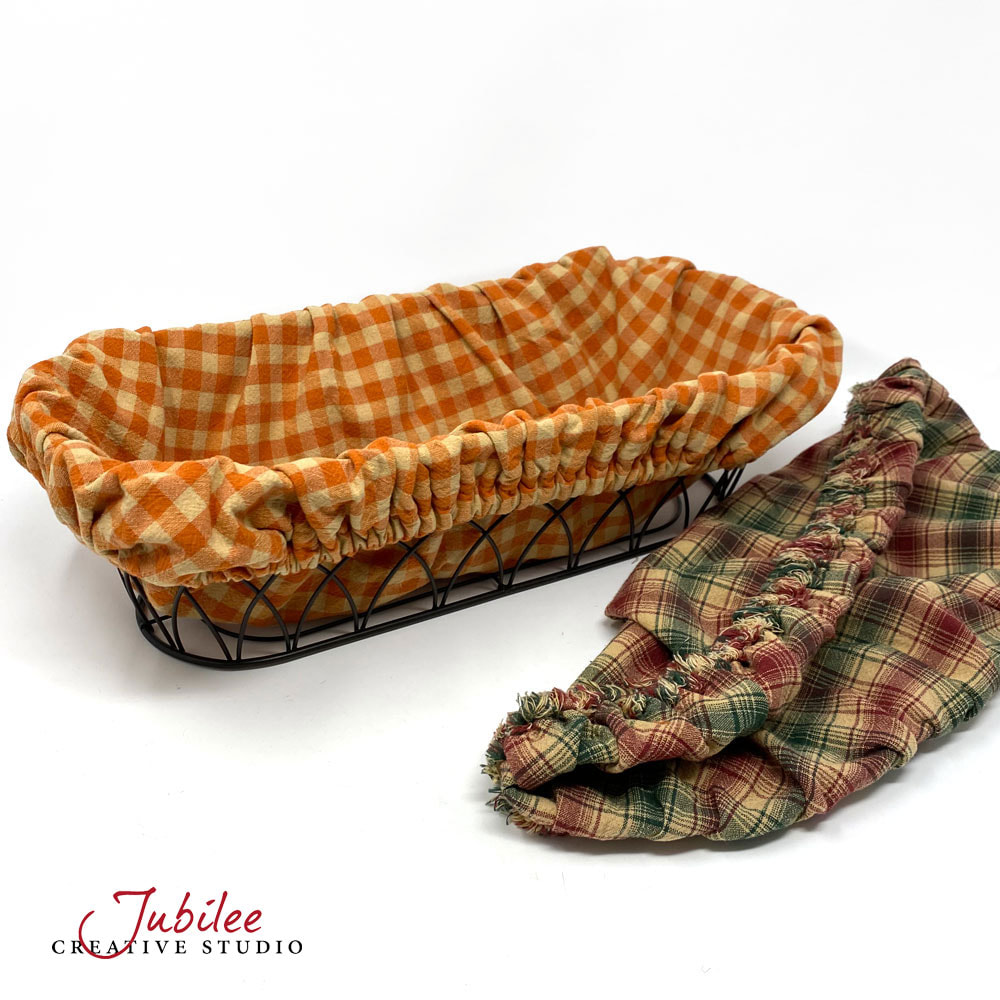
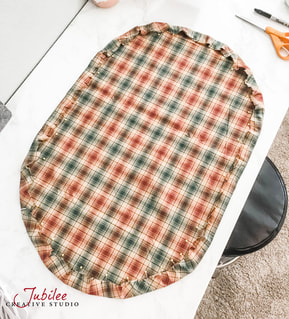
All done! If you are anything like me, doing one line will just make you want to do more in different colors! We often serve bread from our lined basket or just drop a couple of potato chip bags in it to keep them standing upright. Baskets around the house can be SO useful! If you make a pretty basket, send us a pic! We'd love to see it.
|
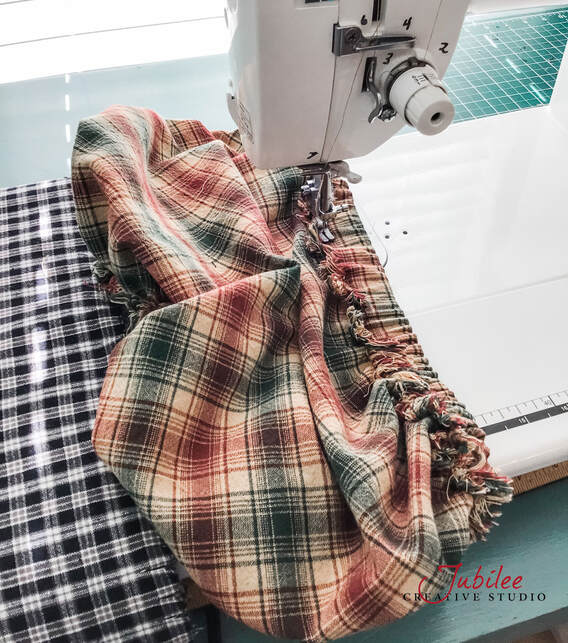
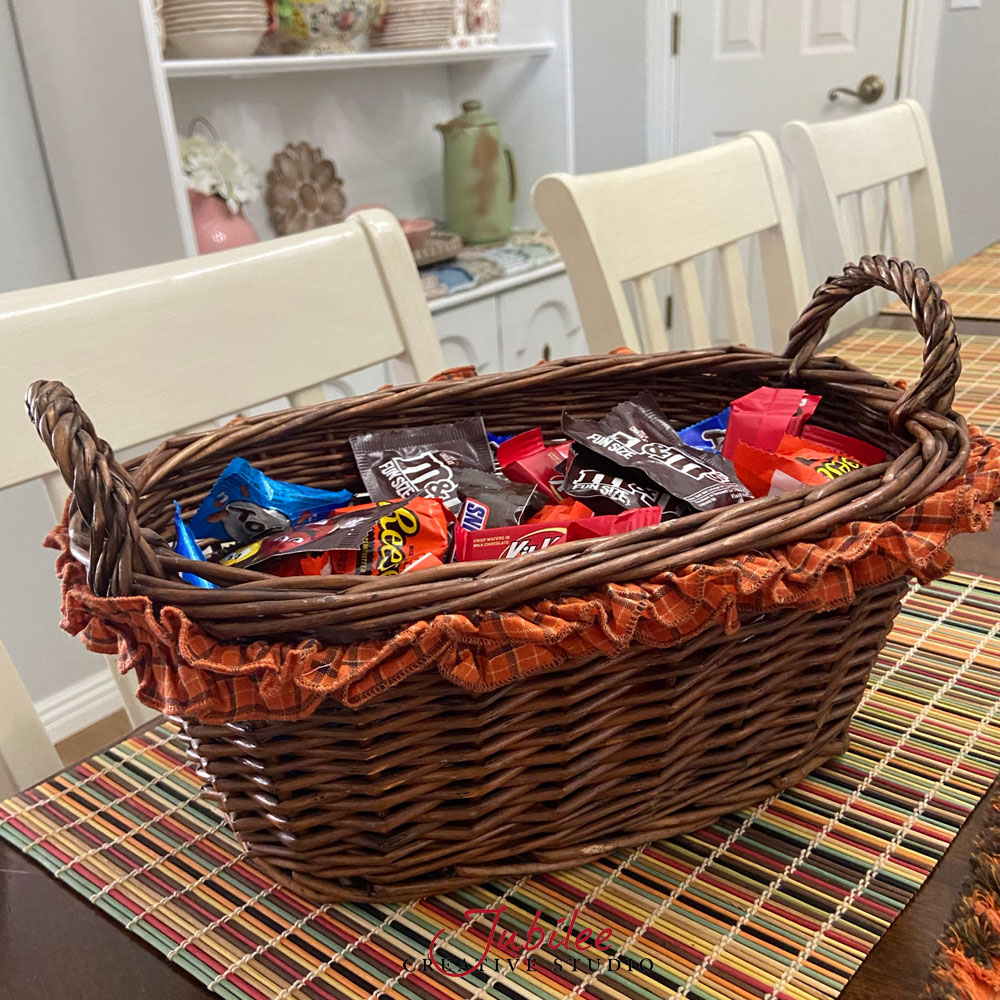
So if you don't have time for a full-on basket liner project, you can still use homespun to dress up an oval basket. Look at this quickie we did for our Halloween candy last year using the Ruffled Homespun Trim available from our shopping pages "For the Lord is good and His love endures forever; His faithfulness continues through all generations." Psalm 100:5 |
|