
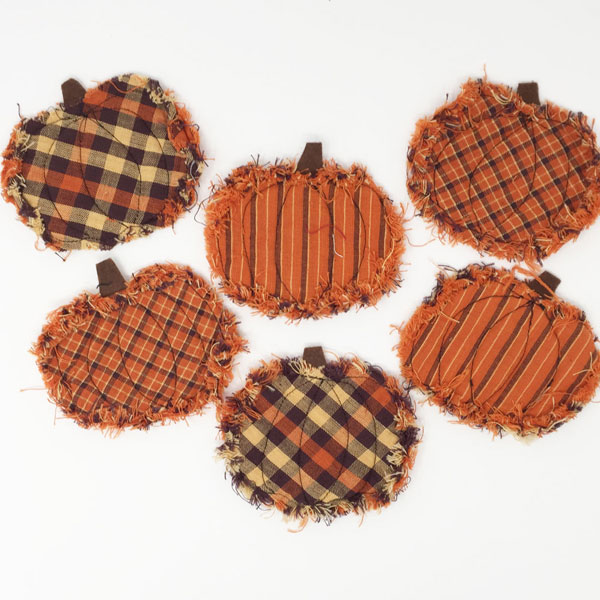
Pumpkin Quilted Homespun Coasters
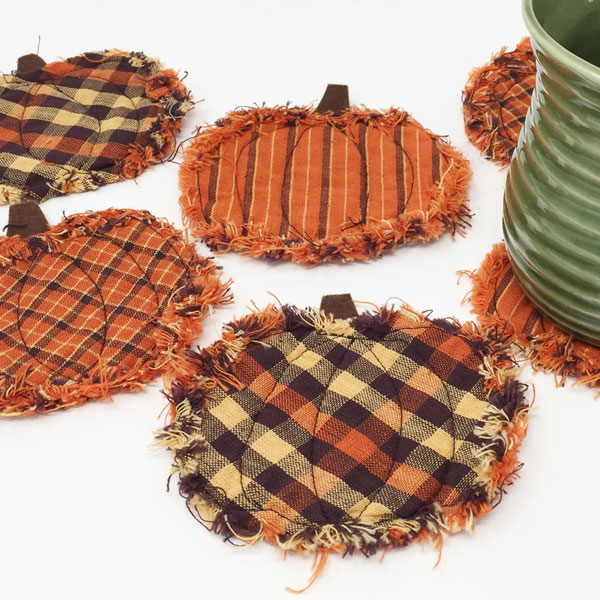
Doesn't everyone need a cute raggedy homespun plaid pumpkin coaster to sit that steamy mug of apple cider on? These little cuties can be whipped up in just an hour or so and will add a delightful little "detail" to your fall holiday decorating. Or make several and tie them up in some jute string as a thoughtful handmade gift set to keep on hand during the fall months.
If you do much rag style sewing, you will probably find that you can make these coasters from your leftover scraps. If not, you can certain make a handful of them with just a few autumn color homespun fat quarters. It is necessary to use homespun fabric for this project because regular quilting cotton does not fray so soft and shabby like this.
Here are my basic instructions for the pumpkin coasters. You could easily substitute this for any shape you wish but remember that you'll need to do some interior top stitching on the coaster to secure the batting in place. Without top stitching, the batting will wad up when you wash it.
Materials:
- Assorted fall color homespun fabric scraps or fat quarters
- thin (low loft) quilt batting scraps
- brown felt scraps
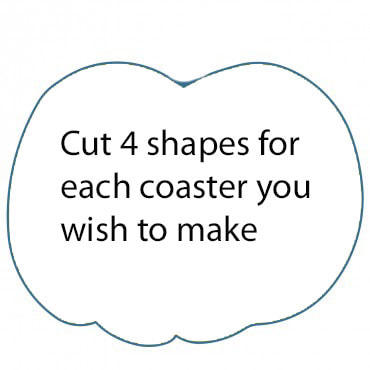
- Save, print and cut out the pumpkin shape pattern below. ... or just randomly draw your own shape.
- Cut out your pumpkin shapes using the homespun fabric scraps. Each pumpkin coaster needs to have two layers of homespun for the front and two layers for the back. I chose to do mine with a different fabric design on the front and back. So regardless of your design, you will need FOUR pumpkin cut outs for each coaster. (2 for the front, 2 for the back) If you are short on fabric you can just do one layer for the front and one for the back but the result of that will be less fullness in the outer edge fray.
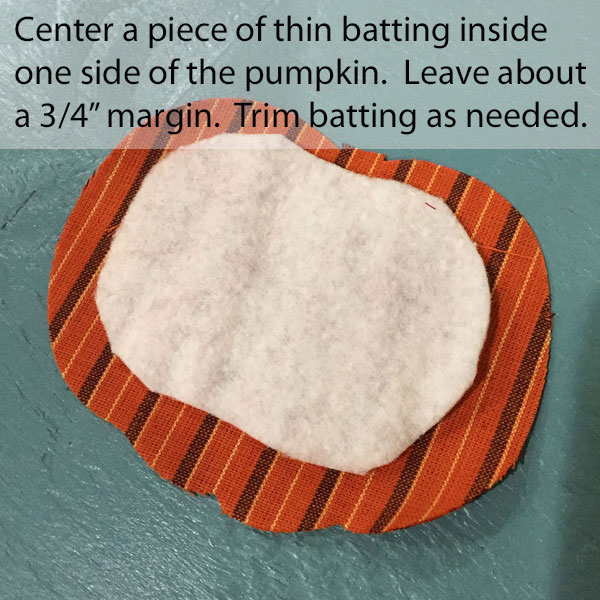
- Cut out 1 batting shape per coaster using your pumpkin pattern as a guide. However, the batting shape needs to be about 1/2" smaller than the pumpkin. Don't try to make it perfect, as you can see from my pics, just a close proximity is good.
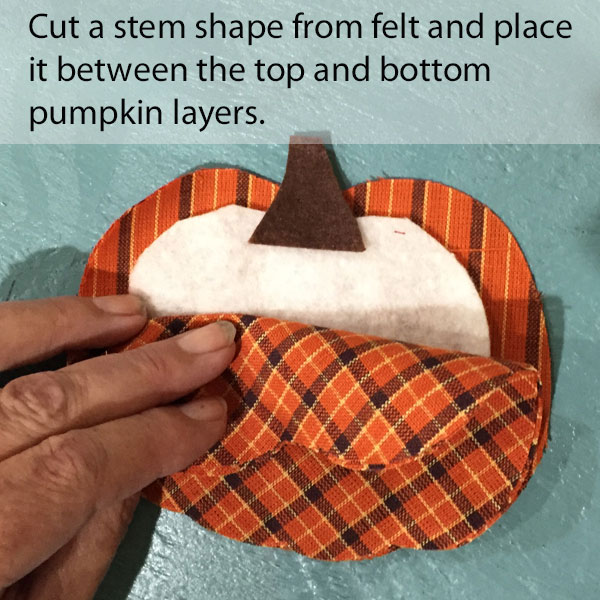
- Cut out a stem shape from felt.
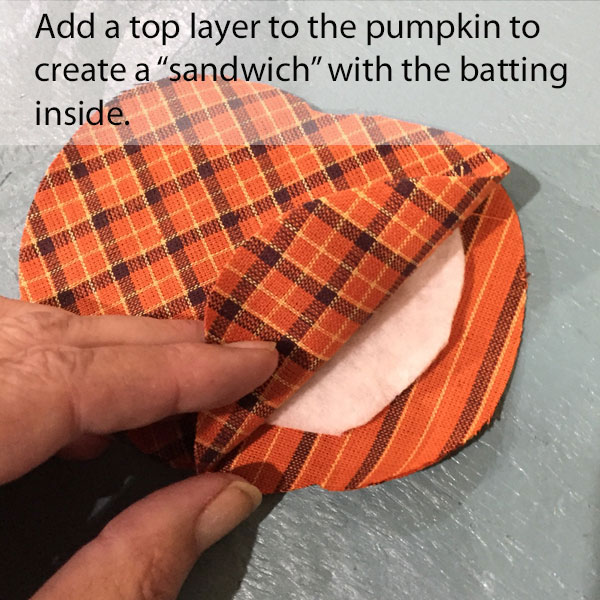
- Place the back pumpkin fabric shapes (2 layers thick) on the table and center the batting shape on it.
- Place the front pumpkin fabric shapes (also 2 layers thick) on top to form a "sandwich".
- Slip the felt pumpkin stem between the front and the back.
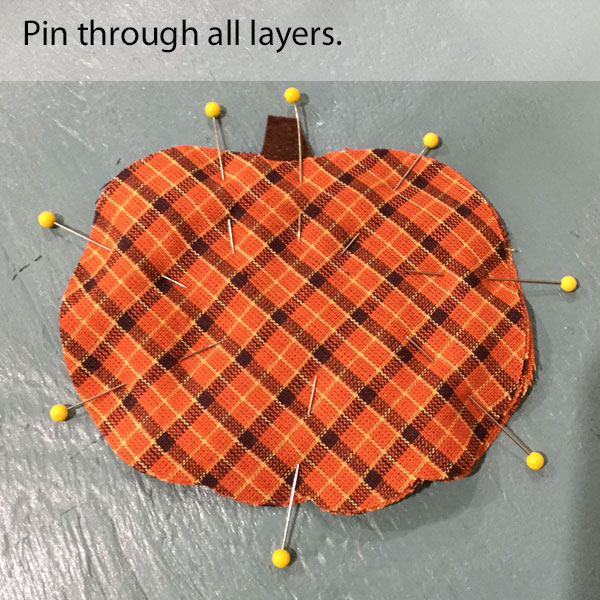
- Pin the outer edges through all layers.
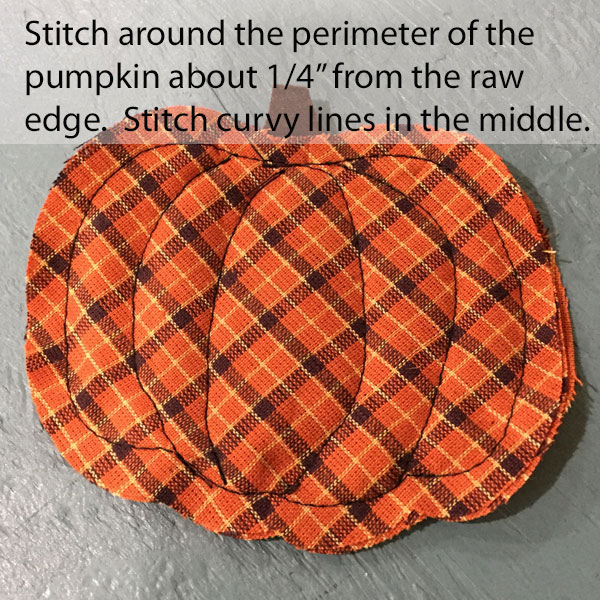
- Stitch the outer edges about 1/4" from the raw edge using a small tight stitch. If you machine allows free rotation, you may want to do that so you can make the tight curves easier. Also letting up the pressure of the presser foot is a great help if your machine can do that.
- Make some random curved stitches in the interior of the pumpkin to create the "ribs" of the pumpkin. If you are making this with another shape, please find an appropriate place to put interior stitches so that the batting will stay in place when it is washed.
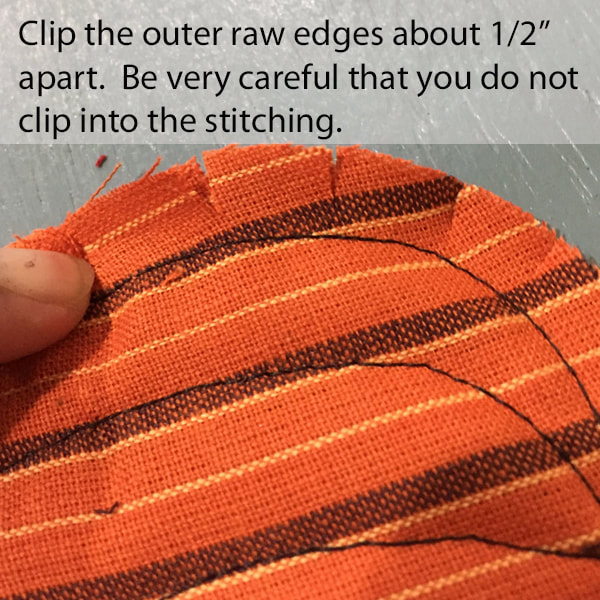
- Clip the exposed raw edges around the perimeter. Clip about 1/2" apart. Be very careful that you do not clip into the stitching. If you do, just restitch the area before washing.
- Machine wash using liquid fabric softener if possible. Add about 1/4 cup table salt to the wash to stabilize the colors and minimize bleeding. Tumble dry. That's it! You have some cute fall holiday accessories ready to scatter about your home or to gift to a friend.
|

|