Quilted Potholder
This easy potholder project is a great way to make use of any excess quilt squares that you may have left over after completing a rag style quilt project. Or you can just start from scratch and create your own block designs specifically for a pot holder.
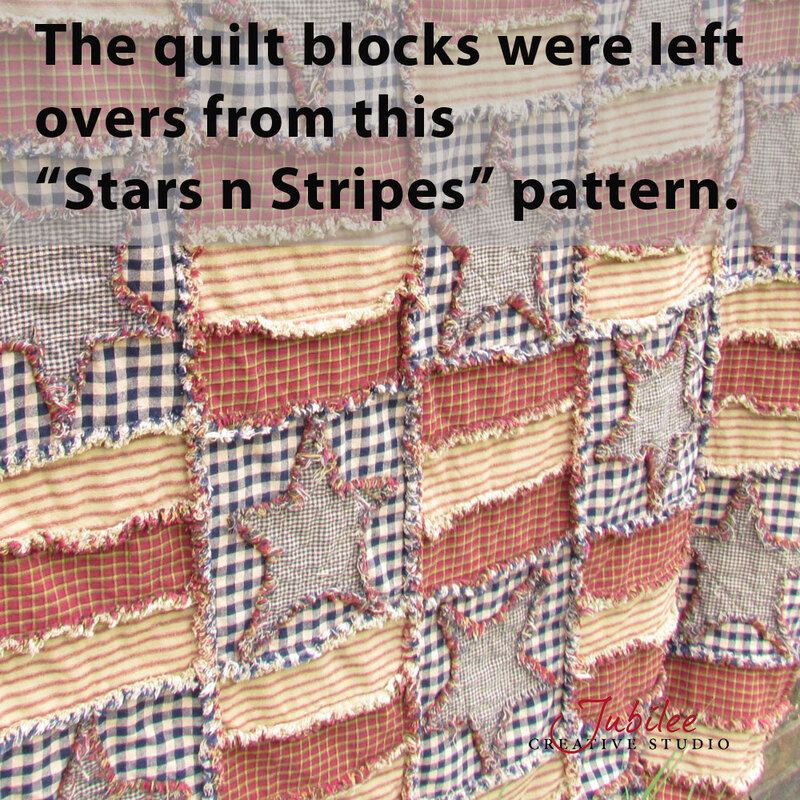
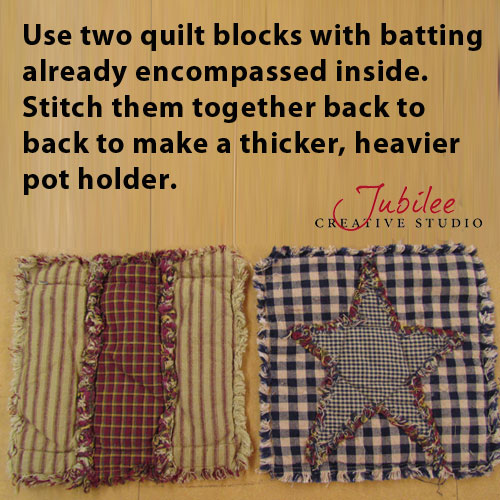
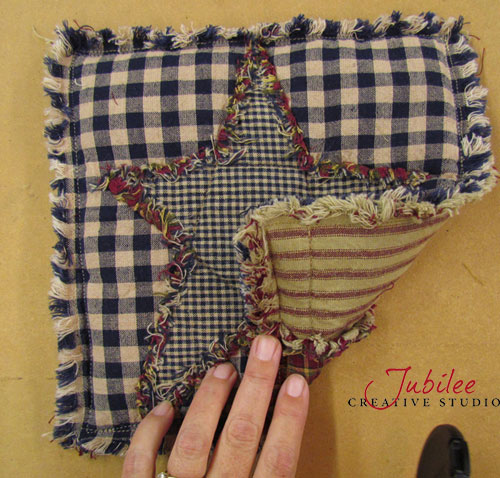
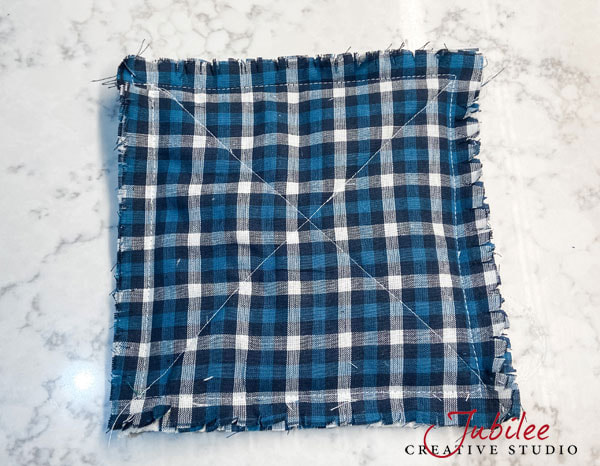
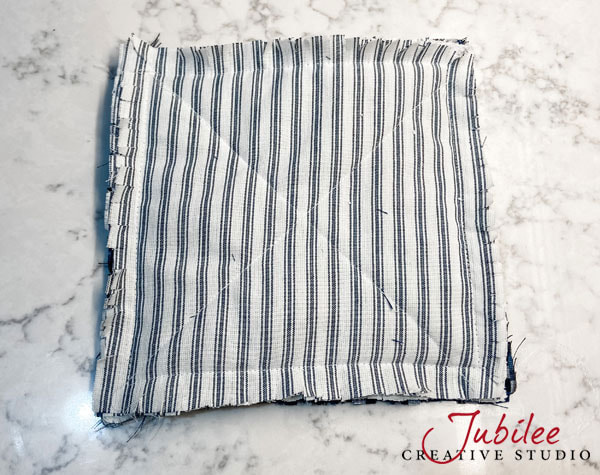
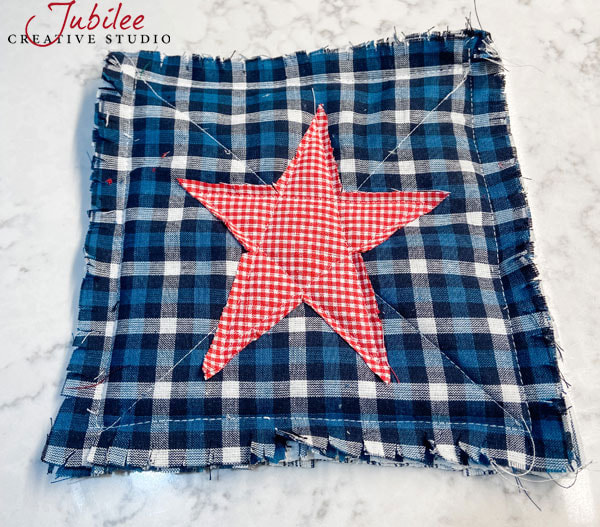
The two quilt squares shown in the image gallery below were left over from our Stars-n-Stripes quilt design. I stitched around the perimeter of each square to secure the edges and to hide the batting that is sandwiched in between. After that, I clipped all the exposed raw edges. See instructions for clipping the edges. Then I machine washed and dried them. The washing and drying is what makes the homespun fabric fluff up so nicely on the edges.
I personally think just one layer of batting is not enough to protect my hands so I usually stitch two completed blocks together to double up on the thickness and protection. This is optional depending on your batting thickness and desired usage.
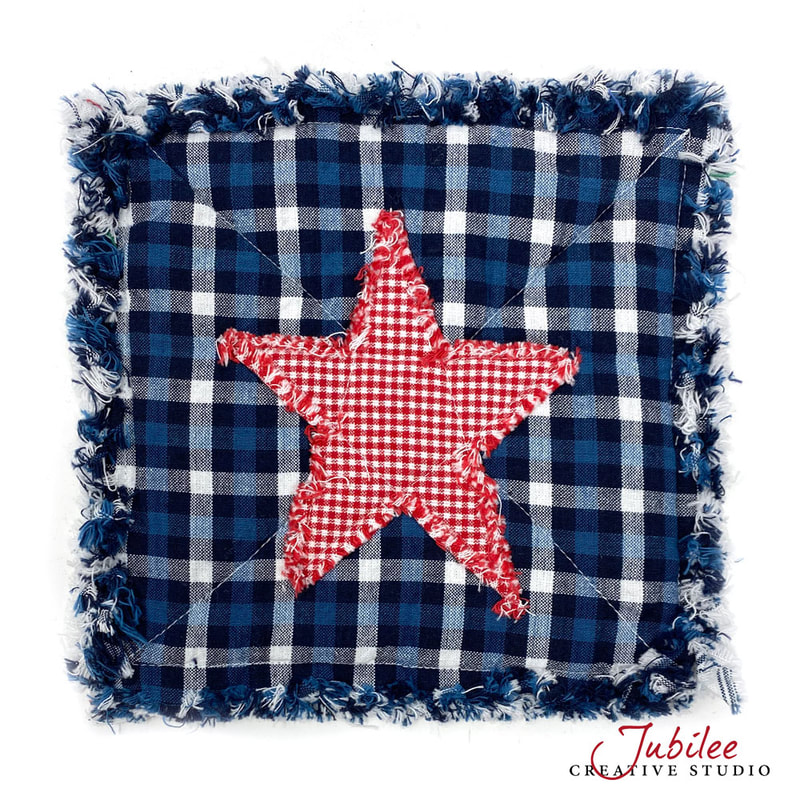
Now if you are just starting from scratch and not using left over blocks, you will want a fabric for the front, a coordinating (or same) fabric for the back and some sort of embellishment to applique onto the front. Cut your blocks about 8" - 10" square. After washing and fraying, they will shrink about 10%. Also in the gallery below are pics of a blue plaid and blue stripe potholder which were not quilt blocks but were made from scratch. This one has two layers of batting between the front and back. Batting is held into place with an X stitch. Then a red star applique was added to the front side to embellish. I actually made several of these to sell at a local craft show. They were quick, inexpensive and a great way to turn a profit on my homespun stash.
