DIY Woven Homespun & Burlap Chair Seat
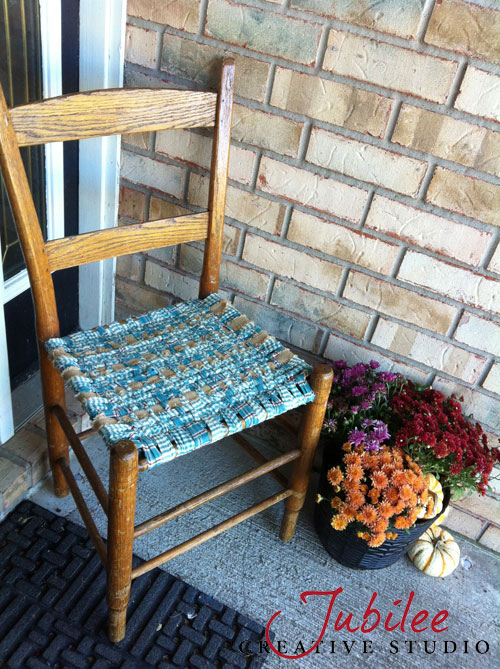
Last weekend we were checking out the local antique stores and flea markets when I came across a great deal on a woven cane bottom chair. I'd seen fabric used for woven seats before so I decided to make my first attempt at weaving. I used blue homespun fabrics and a 1" wide burlap ribbon.
I was SO pleased with the results that the chair is now featured on my front entry with a few seasonal decorations. The fabric woven seat is very sturdy and I believe this would hold up to regular use. The fabrics used are actually the same fabrics that I have on a quilt in our guest bedroom so I may be moving it in there eventually.
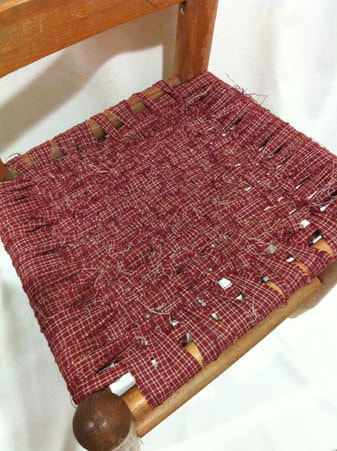
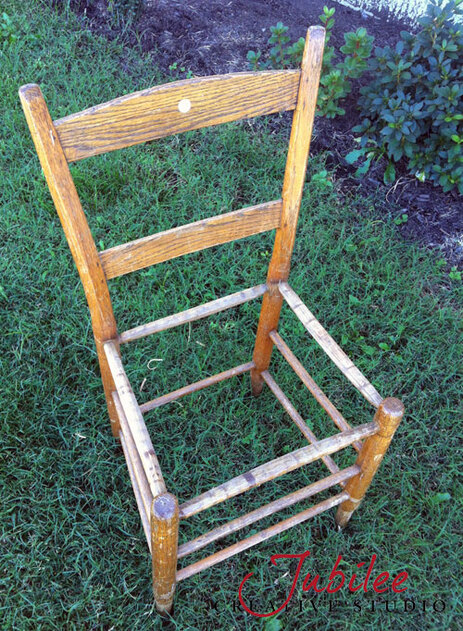
First, I had to removed the old damaged seat. Then it was just a matter of tying fabric strips in one direction and then weaving fabric strips in the other direction. It was actually much simpler than I had expected and I absolutely LOVE the results! Here are a few pictures of the process.
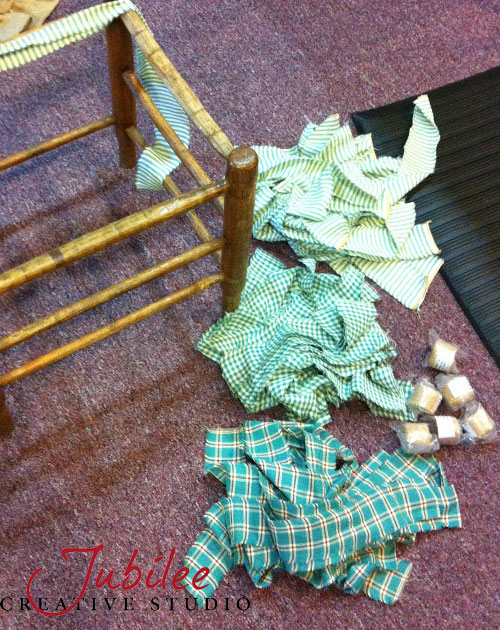
Materials needed for one average size chair are 3 yds homespun fabric, 4-6 yds 1″ burlap ribbon, a bodkin and a glue gun. This total project took me less than two hours and it really satisfied my “creative urge” on a beautiful Saturday!
I’ve included some basic instructions and pics below. I really encourage anyone to try this and be creative with your colors and fabrics. If you make something amazing, send us a picture!
I was SO pleased with the results that the chair is now featured on my front entry with a few seasonal decorations. The fabric woven seat is very sturdy and I believe this would hold up to regular use. The fabrics used are actually the same fabrics that I have on a quilt in our guest bedroom so I may be moving it in there eventually.
First, I had to removed the old damaged seat. Then it was just a matter of tying fabric strips in one direction and then weaving fabric strips in the other direction. It was actually much simpler than I had expected and I absolutely LOVE the results! Here are a few pictures of the process.
Materials needed for one average size chair are 3 yds homespun fabric, 4-6 yds 1″ burlap ribbon, a bodkin and a glue gun. This total project took me less than two hours and it really satisfied my “creative urge” on a beautiful Saturday!
I’ve included some basic instructions and pics below. I really encourage anyone to try this and be creative with your colors and fabrics. If you make something amazing, send us a picture!
INSTRUCTIONS:
- Tear your homespun fabric into strips 2.5″ x 44″ strips.If you tear it, pull out all the long loose strings that tend to cling to the torn edges. The number of strips you'll need will depend on the size of your chair but for this chair, I used 30 strips of fabric; 10 of each color/plaid.
- Cut your burlap ribbon into strips 44" long. If you can't find 2" burlap ribbon, just a simple chunky jute string would also add the same texture variation or you can leave it out entirely and add more fabric strips to compensate.
- Remove any old caning or seat cover from your chair frame.
|
|
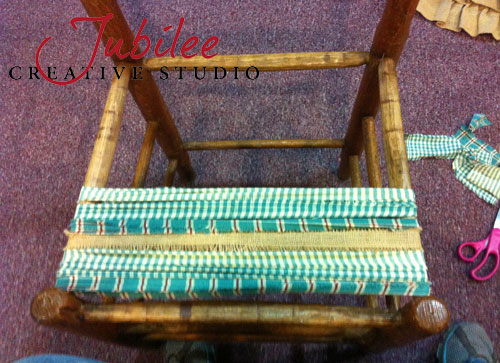
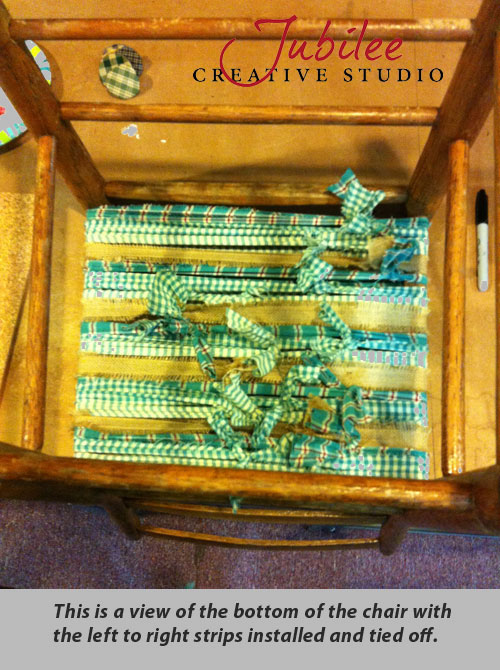
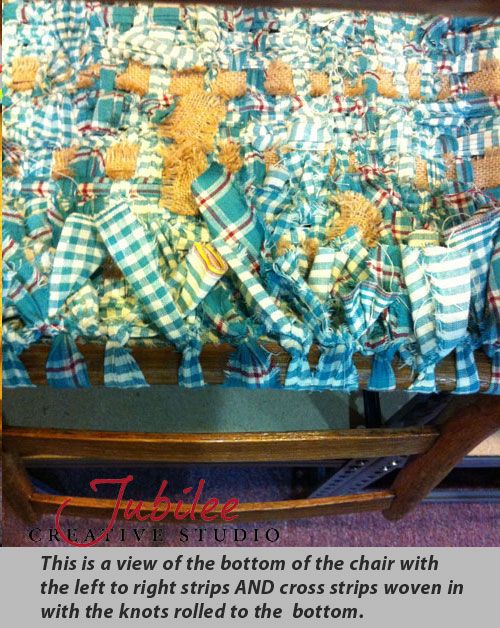
- With the chair upright and sitting on the floor, begin tying your fabric and burlap onto the chair from left to right in whatever color sequence you wish to use. Start at the back which is usually a bit more narrow. After tying, roll the knot to the under side and pull the fabric strips forward to the front of the chair where they will fit very snugly. There is an image below showing the bottom of the chair with all the left to right strips installed and tied off. Try to stagger the ties across the space.

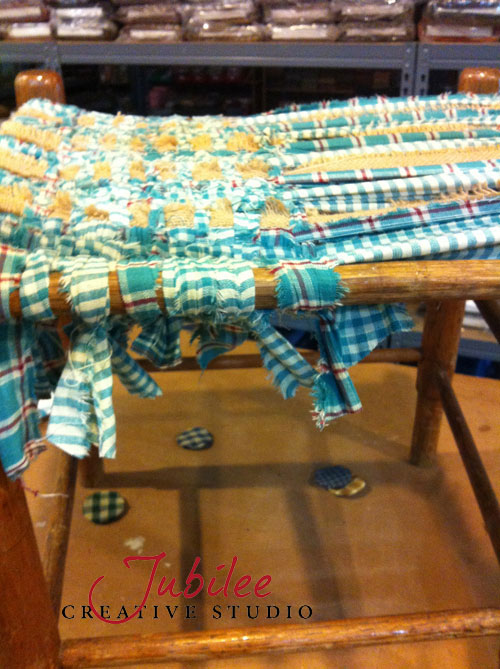
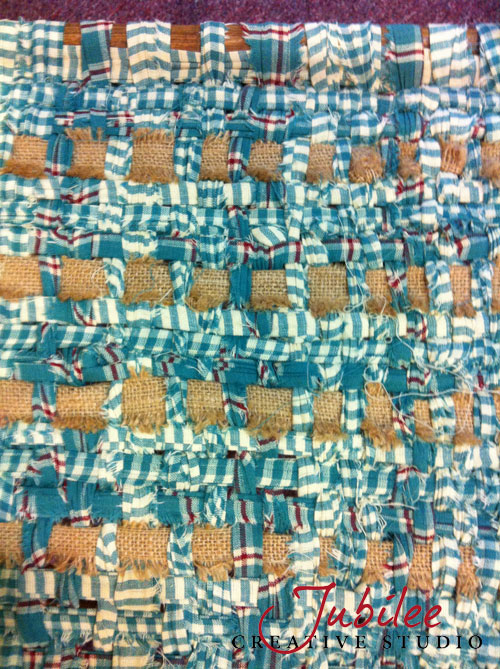
- Now using a bodkin to pull with, weave the remaining strips of fabric from back to front and then to the back again using basic weaving (over/under) techniques. Leave about 5-6 inches loose at the back so that you can tie a knot when you weave back to the beginning again. Tie those knots as much to the under side as much as you can so that the knot and the tail will not be visible.
- Weave in as many strips as you wish but try to make it fairly dense so it will be a sturdy seat.
- There is an image in the gallery below showing the bottom of the chair now with all the crosswise strips in place and the knots rolled to the bottom. Trim off any long fabric tails to about 1-2 inches.


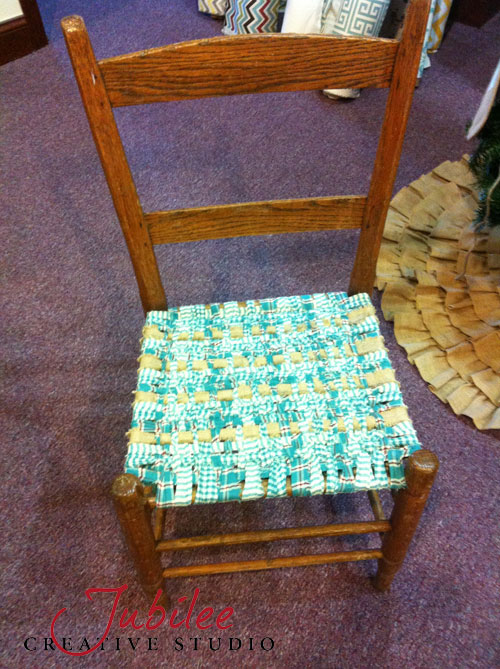
- Now flip the chair over and trim off the tails of the knots at the back to about 2″. Use a hot glue gun to glue those tails down flat where they are not visible from the top. Also glue flat any tails that are remaining on the under side of the seat. Many of those will have been pulled into the weaving and may not be visible anymore.
Updated: I recently came across a small, child size char with a missing seat so naturally, I had to create a rag strip chair for our grandson James who spends a lot of time here in the studio. I think James likes his chair! Click the images below to enlarge. This was still a fun project even the second time!